How do I start a new swift app?
Asked on 2024-07-30
1 search

To start a new Swift app, you can follow these steps:
-
Launch Xcode: Open Xcode on your Mac. If you don't have Xcode installed, you can download it from the Mac App Store.
-
Create a New Project: In Xcode, select "Create a new Xcode project" from the welcome screen or go to
File > New > Project. -
Choose a Template: Select a template for your new project. For a basic Swift app, you might choose "App" under the iOS section.
-
Configure Your Project: Enter the project name, organization name, and other details. Make sure the language is set to Swift.
-
Set Up Your UI: You can use SwiftUI to design your user interface. SwiftUI is a powerful framework that allows you to build user interfaces across all Apple platforms with the power of Swift. For more details on getting started with SwiftUI, you can refer to the session SwiftUI essentials.
-
Use Swiftassist: If you need help with coding tasks, you can use Swiftassist, a new feature in Xcode that helps with prototyping and coding by providing suggestions and generating code snippets. You can start an empty project and bring up Swiftassist to ask for what you need. For example, you can ask Swiftassist to create a struct or add images to your project. For more information on Swiftassist, you can refer to the session Platforms State of the Union.
-
Run Your App: Once you have set up your project and UI, you can run your app on the simulator or a connected device by clicking the "Run" button in Xcode.
For a more detailed guide on Swift and its features, you can check out the session A Swift Tour: Explore Swift’s features and design.
Relevant Sessions
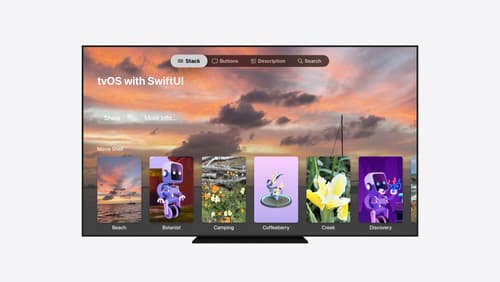
Migrate your TVML app to SwiftUI
SwiftUI helps you build great apps on all Apple platforms and is the preferred toolkit for bringing your content into the living room with tvOS 18. Learn how to use SwiftUI to create familiar layouts and controls from TVMLKit, and get tips and best practices.
A Swift Tour: Explore Swift’s features and design
Learn the essential features and design philosophy of the Swift programming language. We’ll explore how to model data, handle errors, use protocols, write concurrent code, and more while building up a Swift package that has a library, an HTTP server, and a command line client. Whether you’re just beginning your Swift journey or have been with us from the start, this talk will help you get the most out of the language.

SwiftUI essentials
Join us on a tour of SwiftUI, Apple’s declarative user interface framework. Learn essential concepts for building apps in SwiftUI, like views, state variables, and layout. Discover the breadth of APIs for building fully featured experiences and crafting unique custom components. Whether you’re brand new to SwiftUI or an experienced developer, you’ll learn how to take advantage of what SwiftUI has to offer when building great apps.