how do you use lowlevelmesh
Asked on 2024-07-30
1 search
To use low-level mesh in RealityKit, you can follow these steps:
-
Declare Vertex and Index Buffers: Start by declaring the required capacity for the vertex and index buffers. This involves specifying the list of vertex attributes and their layouts. Each vertex attribute uses one of the layouts, and you can use up to four Metal buffers for your vertex data.
-
Initialize Low-Level Mesh: Create a low-level mesh descriptor, which is conceptually similar to Metal's MTLVertexDescriptor but also contains information that RealityKit needs to ingest your mesh. Populate a list of parts, where each part spans a region of the index buffer. You can assign different RealityKit material indices to each mesh part.
-
Update Vertex Data: When it's time to update the vertex data of a low-level mesh, you can use the
withUnsafeMutableBytesAPI. This API gives you access to the actual buffer that will be submitted to the GPU for rendering, minimizing overhead. You can also update your low-level mesh index buffers viawithUnsafeMutableIndices. -
Create Mesh Resource: Finally, create a mesh resource from your low-level mesh and assign it to an entity's model component.
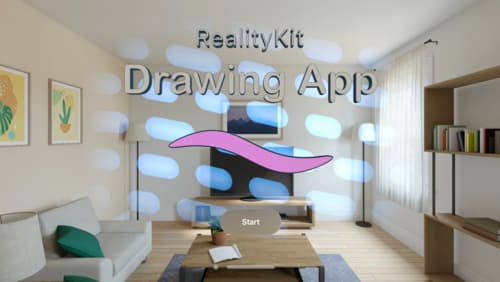
For more detailed information, you can refer to the session Build a spatial drawing app with RealityKit.
Relevant Sessions
If you need more specific details or examples, please let me know!

Build a spatial drawing app with RealityKit
Harness the power of RealityKit through the process of building a spatial drawing app. As you create an eye-catching spatial experience that integrates RealityKit with ARKit and SwiftUI, you’ll explore how resources work in RealityKit and how to use features like low-level mesh and texture APIs to achieve fast updates of the users’ brush strokes.

Bring your iOS or iPadOS game to visionOS
Discover how to transform your iOS or iPadOS game into a uniquely visionOS experience. Increase the immersion (and fun factor!) with a 3D frame or an immersive background. And invite players further into your world by adding depth to the window with stereoscopy or head tracking.

Discover area mode for Object Capture
Discover how area mode for Object Capture enables new 3D capture possibilities on iOS by extending the functionality of Object Capture to support capture and reconstruction of an area. Learn how to optimize the quality of iOS captures using the new macOS sample app for reconstruction, and find out how to view the final results with Quick Look on Apple Vision Pro, iPhone, iPad or Mac. Learn about improvements to 3D reconstruction, including a new API that allows you to create your own custom image processing pipelines.
