How do I implement tvOS sidebar in SwiftUI
Asked on 2024-07-31
1 search

To implement a sidebar in tvOS using SwiftUI, you can leverage the new features introduced in tvOS 18. Here's a step-by-step guide based on the information from the WWDC sessions:
-
Use NavigationSplitView API: If you are building a new sidebar, you can use the existing
NavigationSplitViewAPIs to create a sidebar with the new appearance. -
Adopt Sidebar Adaptable Style: If your app currently uses a
TabView, you can easily switch to a sidebar with just one line of code by setting theTabViewstyle tosidebarAdaptable. This will transform your tab bar into a sidebar.TabView { // Your tab items here } .tabViewStyle(.sidebarAdaptable) -
Customize Sidebar Content: You can use
TabSectionto represent groups in the sidebar. Tabs will appear in the declared order in the tab bar, and sections will be sorted after individual tabs in the sidebar.TabView { TabSection { // Your section content here } .tabItem { Label("Section", systemImage: "star") } // Other tabs } .tabViewStyle(.sidebarAdaptable) -
Enable Sidebar in UIKit: If you are using
UITabBarControllerin UIKit, you can set thetabBarController's mode totabSidebarto achieve a similar effect.tabBarController.mode = .tabSidebar
For more detailed information and examples, you can refer to the following sessions:
- Migrate your TVML app to SwiftUI
- What’s new in SwiftUI
- Elevate your tab and sidebar experience in iPadOS
These sessions provide comprehensive insights and examples on how to implement and customize the sidebar in your tvOS app using SwiftUI.
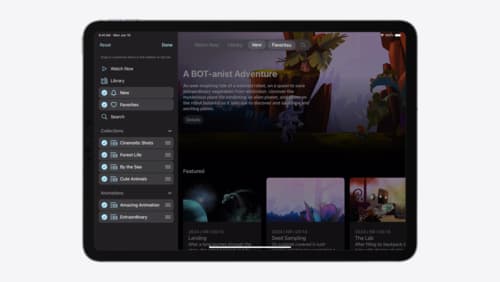
Elevate your tab and sidebar experience in iPadOS
iPadOS 18 introduces a new navigation system that gives people the flexibility to choose between using a tab bar or sidebar. The newly redesigned tab bar provides more space for content and other functionality. Learn how to use SwiftUI and UIKit to enable customization features – like adding, removing and reordering tabs – to enable a more personal touch in your app.
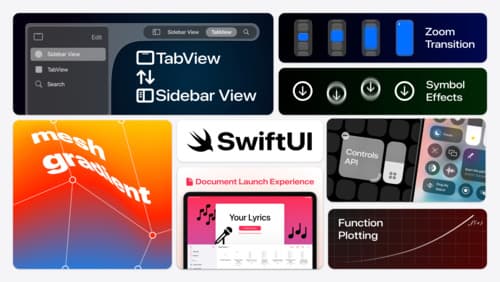
What’s new in SwiftUI
Learn how you can use SwiftUI to build great apps for any Apple platform. Explore a fresh new look and feel for tabs and documents on iPadOS. Improve your window management with new windowing APIs, and gain more control over immersive spaces and volumes in your visionOS apps. We’ll also take you through other exciting refinements that help you make expressive charts, customize and layout text, and so much more.

Platforms State of the Union
Discover the newest advancements on Apple platforms.