How do I use an external USB-C camera in an iPadOS app?
Asked on 2024-07-31
1 search

To use an external USB-C camera in an iPadOS app, you can follow a similar approach to the one described for accessing the main camera feed in visionOS. Here are the general steps you would need to take:
-
Set Up Camera Access: Ensure you have the necessary entitlements and permissions to access the camera. This includes requesting user authorization for camera access.
-
Create a Camera Frame Provider: Set up a camera frame provider with the supported formats. This will allow you to get the video feed from the external USB-C camera.
-
Configure the Capture Session: Create an AV capture session and configure it with the appropriate input and output settings. This involves:
- Creating an AV capture device for the external USB-C camera.
- Adding the input from the camera to the capture session.
- Adding an output to the session to handle the video frames.
-
Start the Capture Session: Commit the configuration and start running the capture session to begin receiving video frames.
-
Handle Video Frames: Pull the video frames from the camera frame provider and store them in a variable for further processing or display in your app.
For more detailed guidance, you can refer to the session on building a great Lock Screen camera capture experience, which covers similar concepts for camera access and handling in iOS:
If you need to dive deeper into the specifics of setting up and handling camera inputs and outputs, you might also find the session on building compelling spatial photo and video experiences useful:
These sessions provide a comprehensive overview of the necessary steps and best practices for working with camera inputs in your app.
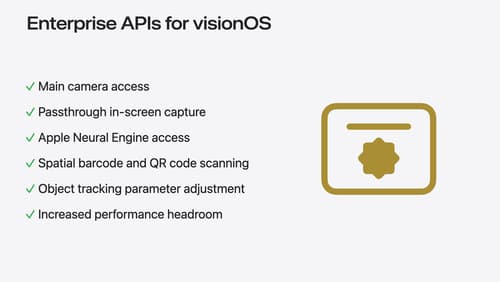
Introducing enterprise APIs for visionOS
Find out how you can use new enterprise APIs for visionOS to create spatial experiences that enhance employee and customer productivity on Apple Vision Pro.
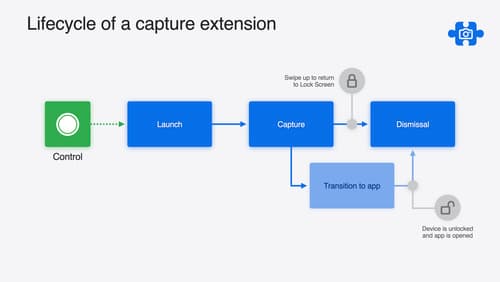
Build a great Lock Screen camera capture experience
Find out how the LockedCameraCapture API can help you bring your capture application’s most useful information directly to the Lock Screen. Examine the API’s features and functionality, learn how to get started creating a capture extension, and find out how that extension behaves when the device is locked.
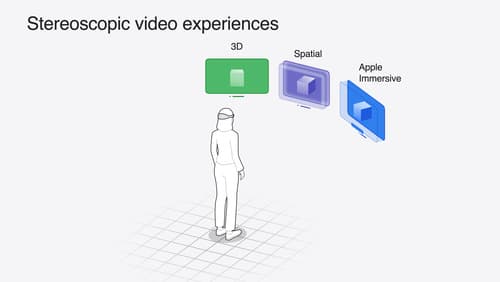
Build compelling spatial photo and video experiences
Learn how to adopt spatial photos and videos in your apps. Explore the different types of stereoscopic media and find out how to capture spatial videos in your iOS app on iPhone 15 Pro. Discover the various ways to detect and present spatial media, including the new QuickLook Preview Application API in visionOS. And take a deep dive into the metadata and stereo concepts that make a photo or video spatial.