How to move the search widget to the bottom of the iOS app
Asked on 2024-07-31
1 search

To move the search widget to the bottom of your iOS app, you can use the new control placement API introduced in iOS 18. This API allows you to specify the placement of controls, including the search widget, in various positions such as leading, trailing, and bottom.
Here's a brief overview of how you can achieve this:
-
Use the Control Placement API: The API provides a way to place controls at different positions on the screen. For moving the search widget to the bottom, you would use the
bottomplacement. -
Implementing the Placement: You can specify the placement in your SwiftUI code. For example, if you are using a
SearchBar, you can set its placement tobottom.
Here is a simple example in SwiftUI:
struct ContentView: View {
    var body: some View {
        VStack {
            Spacer()
            SearchBar()
                .controlPlacement(.bottom)
        }
    }
}
This code places the SearchBar at the bottom of the view.
For more detailed information, you can refer to the session What’s new in StoreKit and In-App Purchase where the control placement API is discussed.
Relevant Sessions
These sessions provide insights into the new APIs and how to use them effectively in your apps.
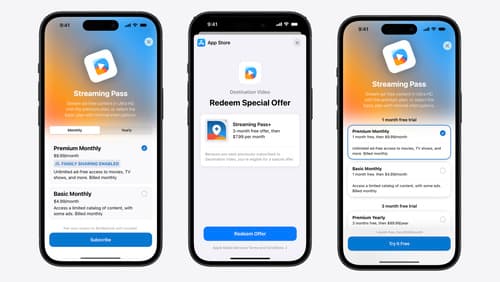
What’s new in StoreKit and In-App Purchase
Learn how to build and deliver even better purchase experiences using the App Store In-App Purchase system. We’ll demo new StoreKit views control styles and new APIs to improve your subscription customization, discuss new fields for transaction-level information, and explore new testability in Xcode. We’ll also review an important StoreKit deprecation.
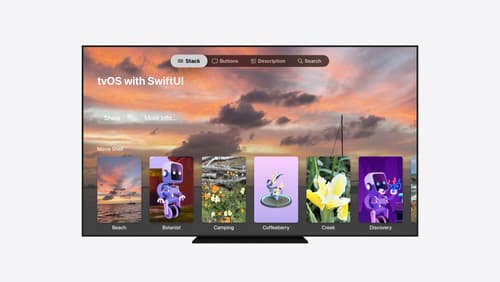
Migrate your TVML app to SwiftUI
SwiftUI helps you build great apps on all Apple platforms and is the preferred toolkit for bringing your content into the living room with tvOS 18. Learn how to use SwiftUI to create familiar layouts and controls from TVMLKit, and get tips and best practices.
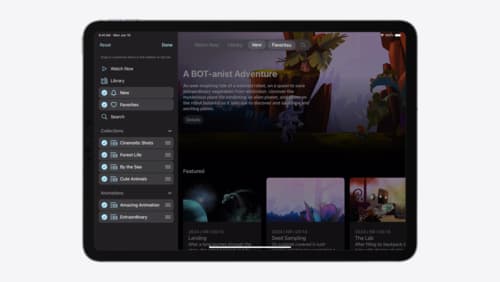
Elevate your tab and sidebar experience in iPadOS
iPadOS 18 introduces a new navigation system that gives people the flexibility to choose between using a tab bar or sidebar. The newly redesigned tab bar provides more space for content and other functionality. Learn how to use SwiftUI and UIKit to enable customization features – like adding, removing and reordering tabs – to enable a more personal touch in your app.