How to make haptics in SwiftUI
Asked on 2024-07-31
1 search

To make haptics in SwiftUI, you can use the new feedback APIs introduced for alignment, snapping, and completing a path. These APIs are available in both SwiftUI and UIKit. Here is a brief overview of how you can implement haptics in SwiftUI:
-
Use Sensory Feedback Modifiers: SwiftUI offers sensory feedback modifiers that you can add to your views. These modifiers will request feedback whenever the trigger value changes.
-
Example Implementation:
- Define state variables that will trigger the feedback.
- Use sensory feedback modifiers on the specific views where you want the feedback to occur.
Here is a code snippet to illustrate this:
import SwiftUI

struct ContentView: View {
    @State private var alignmentTrigger: Int = 0
    @State private var pathCompleteTrigger: Int = 0

    var body: some View {
        VStack {
            // Your custom canvas or view
            CanvasView()
                .onAlignmentChange {
                    alignmentTrigger += 1
                }
                .onPathComplete {
                    pathCompleteTrigger += 1
                }
                .sensoryFeedback(.alignment, trigger: $alignmentTrigger)
                .sensoryFeedback(.pathComplete, trigger: $pathCompleteTrigger)
        }
    }
}
In this example:
CanvasViewis your custom view where you want to provide haptic feedback.onAlignmentChangeandonPathCompleteare custom methods that increment the state variables.sensoryFeedbackmodifiers are used to provide haptic feedback when the state variables change.
For more details, you can refer to the session Squeeze the most out of Apple Pencil at WWDC 2024.
Relevant Sessions

Catch up on accessibility in SwiftUI
SwiftUI makes it easy to build amazing experiences that are accessible to everyone. We’ll discover how assistive technologies understand and navigate your app through the rich accessibility elements provided by SwiftUI. We’ll also discuss how you can further customize these experiences by providing more information about your app’s content and interactions by using accessibility modifiers.
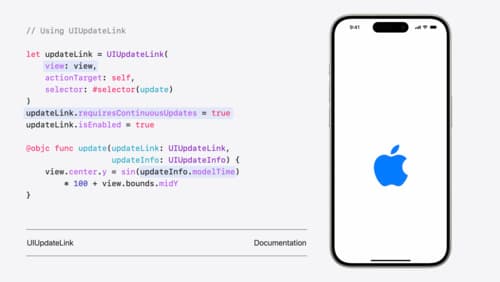
What’s new in UIKit
Explore everything new in UIKit, including tab and document launch experiences, transitions, and text and input changes. We’ll also discuss better-than-ever interoperability between UIKit and SwiftUI animations and gestures, as well as general improvements throughout UIKit.
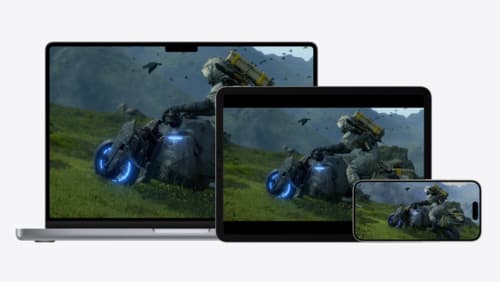
Port advanced games to Apple platforms
Discover how simple it can be to reach players on Apple platforms worldwide. We’ll show you how to evaluate your Windows executable on Apple silicon, start your game port with code samples, convert your shader code to Metal, and bring your game to Mac, iPhone, and iPad. Explore enhanced Metal tools that understand HLSL shaders to validate, debug, and profile your ported shaders on Metal.