How do I make a inspector sidebar in a macOS app?
Asked on 2024-07-31
1 search

To create an inspector sidebar in a macOS app using SwiftUI, you can leverage the new APIs and features introduced at WWDC 2024. Here are the steps and relevant information:
-
Using NavigationSplitView: You can build a sidebar using the
NavigationSplitViewAPI. This allows you to create a sidebar that can be used for navigation and displaying additional content. -
Customizing the Sidebar: You can customize the appearance and behavior of the sidebar. For example, you can use the
sidebarAdaptablemodifier to switch between a tab bar and a sidebar representation. -
Example Code:
import SwiftUI struct ContentView: View { var body: some View { NavigationSplitView { List { Text("Item 1") Text("Item 2") } .navigationTitle("Sidebar") } detail: { Text("Detail View") } } } -
Additional Customization: You can further refine the behavior and appearance of your windows and sidebars using various modifiers and APIs. For example, you can remove the toolbar background or title to highlight specific content.
For more detailed guidance, you can refer to the following sessions from WWDC 2024:
- Tailor macOS windows with SwiftUI
- What’s new in SwiftUI
- Elevate your tab and sidebar experience in iPadOS
These sessions provide comprehensive information on how to use the new SwiftUI APIs to create and customize sidebars and other window elements in your macOS applications.
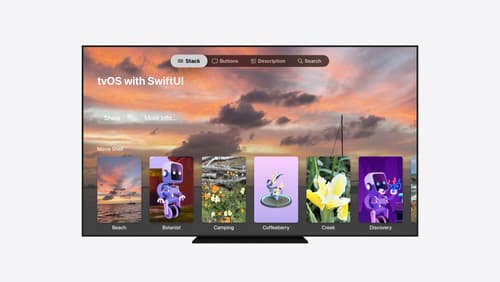
Migrate your TVML app to SwiftUI
SwiftUI helps you build great apps on all Apple platforms and is the preferred toolkit for bringing your content into the living room with tvOS 18. Learn how to use SwiftUI to create familiar layouts and controls from TVMLKit, and get tips and best practices.

What’s new in AppKit
Discover the latest advances in Mac app development. Get an overview of the new features in macOS Sequoia, and how to adopt them in your app. Explore new ways to integrate your existing code with SwiftUI. Learn about the improvements made to numerous AppKit controls, like toolbars, menus, text input, and more.
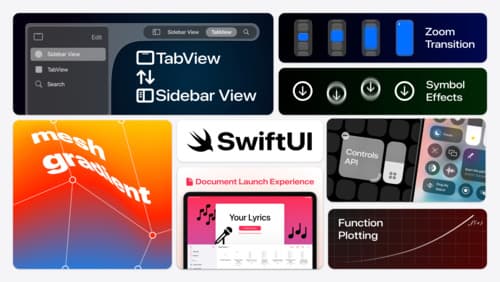
What’s new in SwiftUI
Learn how you can use SwiftUI to build great apps for any Apple platform. Explore a fresh new look and feel for tabs and documents on iPadOS. Improve your window management with new windowing APIs, and gain more control over immersive spaces and volumes in your visionOS apps. We’ll also take you through other exciting refinements that help you make expressive charts, customize and layout text, and so much more.