How do I render a stereoscopic image in RealityKit?
Asked on 2024-08-01
1 search

To render a stereoscopic image in RealityKit, you can follow these steps:
-
Duplicate Screen Rendering for Each Eye: You need to update your game loop to render the scene separately for each eye. This involves duplicating the screen rendering process for both the left and right eyes.
-
Use Vertex Amplification: For better performance, you can use vertex amplification to render both eyes with the same draw calls. This technique helps in efficiently managing the rendering workload.
-
Adjust Camera Matrices: Set the appropriate camera matrices for each eye. This ensures that each eye gets a slightly different view of the scene, creating the stereoscopic effect.
-
Encode Rendering Commands: Encode the rendering commands to the color and depth textures of each view. This step is crucial for ensuring that the rendered images for both eyes are correctly processed and displayed.
-
Head Tracking (Optional): To enhance the stereoscopic effect, you can add head tracking. By using ARKit, you can get the position of the player's head and adjust the camera position accordingly. This makes the scene look more immersive and realistic.
For a detailed example and code adaptation, you can refer to the session Bring your iOS or iPadOS game to visionOS (12:12).
Relevant Sessions
These sessions provide comprehensive insights into rendering stereoscopic images and enhancing the depth and immersion of your content on visionOS.

Render Metal with passthrough in visionOS
Get ready to extend your Metal experiences for visionOS. Learn best practices for integrating your rendered content with people’s physical environments with passthrough. Find out how to position rendered content to match the physical world, reduce latency with trackable anchor prediction, and more.
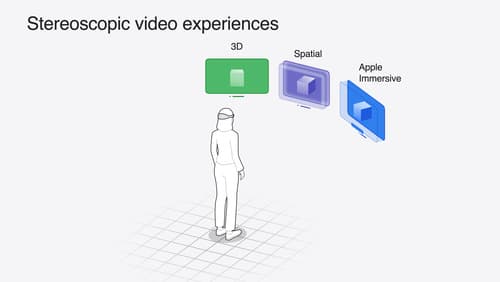
Build compelling spatial photo and video experiences
Learn how to adopt spatial photos and videos in your apps. Explore the different types of stereoscopic media and find out how to capture spatial videos in your iOS app on iPhone 15 Pro. Discover the various ways to detect and present spatial media, including the new QuickLook Preview Application API in visionOS. And take a deep dive into the metadata and stereo concepts that make a photo or video spatial.
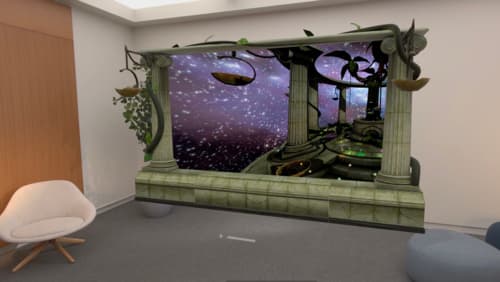
Bring your iOS or iPadOS game to visionOS
Discover how to transform your iOS or iPadOS game into a uniquely visionOS experience. Increase the immersion (and fun factor!) with a 3D frame or an immersive background. And invite players further into your world by adding depth to the window with stereoscopy or head tracking.