How do I map display position to model string using swiftUI to display strings?
Asked on 2024-08-01
1 search

To map display positions to model strings using SwiftUI and display those strings, you can use a combination of SwiftUI's declarative syntax and its powerful layout and state management features. Here are some relevant points from the WWDC sessions that can help you achieve this:
-
Dynamic Layouts:
- You can use dynamic layouts to adjust the position of your elements based on the content size. For example, using
VStackandHStacklayouts that switch based on accessibility settings: - Get started with Dynamic Type (06:02)
- You can use dynamic layouts to adjust the position of your elements based on the content size. For example, using
-
State Management:
- Use
@Stateand@Bindingto manage the state of your views. This allows you to dynamically update the content displayed based on user interactions or other state changes: - SwiftUI essentials (10:41)
- Use
-
Accessibility Labels:
- To ensure that your content is accessible, you can use the
accessibilityLabelmodifier to provide descriptive labels for your elements. This can be particularly useful if you want to append additional information like ratings to your labels: - Catch up on accessibility in SwiftUI (14:54)
- To ensure that your content is accessible, you can use the
-
Custom Layouts:
- If you need more control over the positioning of your elements, you can create custom layouts. This can be useful for more complex UI requirements:
- Demystify SwiftUI containers (13:00)
Here is a simple example in SwiftUI that demonstrates how to map display positions to model strings and display them:
import SwiftUI

struct ContentView: View {
    @State private var items: [String] = ["Item 1", "Item 2", "Item 3"]
    @State private var selectedItem: String?

    var body: some View {
        VStack {
            ForEach(items, id: \.self) { item in
                Text(item)
                    .padding()
                    .background(selectedItem == item ? Color.blue : Color.gray)
                    .cornerRadius(8)
                    .onTapGesture {
                        selectedItem = item
                    }
                    .accessibilityLabel(Text("Item \(item)"))
            }
        }
        .padding()
    }
}

struct ContentView_Previews: PreviewProvider {
    static var previews: some View {
        ContentView()
    }
}
In this example:
- We use a
VStackto layout the items vertically. - Each item is displayed using a
Textview. - We use
@Stateto manage the selected item and update the UI accordingly. - The
accessibilityLabelmodifier is used to provide descriptive labels for accessibility.
For more detailed information, you can refer to the following sessions:
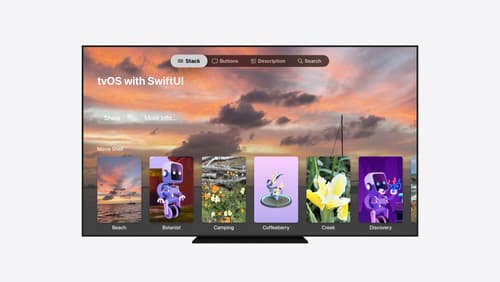
Migrate your TVML app to SwiftUI
SwiftUI helps you build great apps on all Apple platforms and is the preferred toolkit for bringing your content into the living room with tvOS 18. Learn how to use SwiftUI to create familiar layouts and controls from TVMLKit, and get tips and best practices.
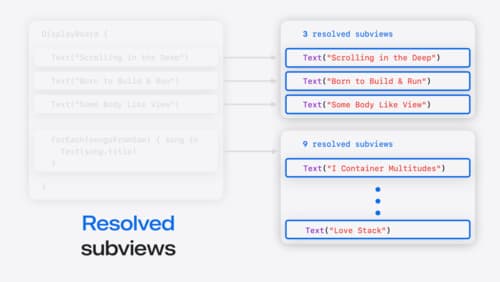
Demystify SwiftUI containers
Learn about the capabilities of SwiftUI container views and build a mental model for how subviews are managed by their containers. Leverage new APIs to build your own custom containers, create modifiers to customize container content, and give your containers that extra polish that helps your apps stand out.

Catch up on accessibility in SwiftUI
SwiftUI makes it easy to build amazing experiences that are accessible to everyone. We’ll discover how assistive technologies understand and navigate your app through the rich accessibility elements provided by SwiftUI. We’ll also discuss how you can further customize these experiences by providing more information about your app’s content and interactions by using accessibility modifiers.