How do I create a view with custom shader?
Asked on 2024-08-02
1 search
To create a view with a custom shader in SwiftUI, you can follow these steps:
-
Instantiate a Shader: You start by calling a function with the shader's name on the shader library. You can also pass additional parameters to your shader function, such as colors, numbers, or images.
-
Apply the Shader to a View: Use the
layerEffectview modifier to apply the shader to a view. SwiftUI will call your shader function for every pixel of your view, running the shader on the GPU for real-time performance. -
Write the Shader in Metal: Shaders are written in the Metal shading language. The shader function in Metal should match the invocation on the shader library in SwiftUI. The function will be executed on the GPU for each pixel of your view.
-
Create a View Modifier: To call the shader function from SwiftUI, create a view modifier that exposes all the parameters of the shader function to SwiftUI. This modifier will instantiate the shader and apply it to its content.
-
Drive the Animation: Since shaders have no concept of time, you need to drive the animation from SwiftUI. You can use a view modifier like
keyframeAnimatorto run animations based on external changes like gestures.
Here is a brief example based on the context provided:
// SwiftUI code to instantiate and apply the shader
struct RippleModifier: ViewModifier {
    var time: Float
    var origin: CGPoint

    func body(content: Content) -> some View {
        content
            .layerEffect(ShaderLibrary.ripple(time: time, origin: origin), maxSampleOffset: .zero)
    }
}

// Metal shader function
#include <metal_stdlib>
using namespace metal;

half4 ripple(float2 position [[position]], float2 origin, float time) {
    float dist = distance(position, origin);
    float ripple = sin(dist - time * 10.0) * 0.1;
    return half4(ripple, ripple, ripple, 1.0);
}
For more detailed steps and examples, you can refer to the session Create custom visual effects with SwiftUI.
Relevant Sessions

Create custom visual effects with SwiftUI
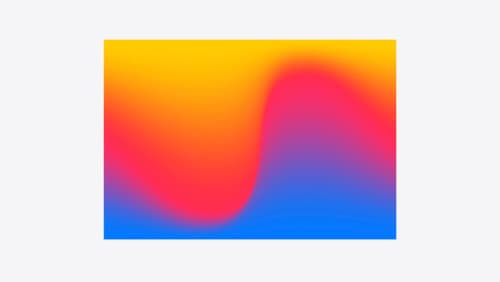
Discover how to create stunning visual effects in SwiftUI. Learn to build unique scroll effects, rich color treatments, and custom transitions. We’ll also explore advanced graphic effects using Metal shaders and custom text rendering.

Discover RealityKit APIs for iOS, macOS and visionOS
Learn how new cross-platform APIs in RealityKit can help you build immersive apps for iOS, macOS, and visionOS. Check out the new hover effects, lights and shadows, and portal crossing features, and view them in action through real examples.

Port advanced games to Apple platforms
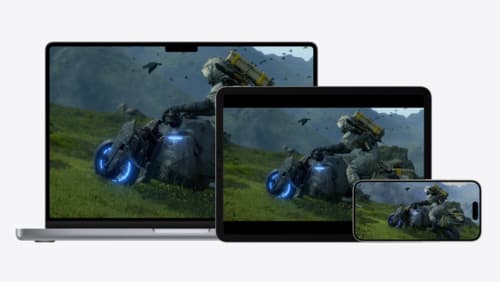
Discover how simple it can be to reach players on Apple platforms worldwide. We’ll show you how to evaluate your Windows executable on Apple silicon, start your game port with code samples, convert your shader code to Metal, and bring your game to Mac, iPhone, and iPad. Explore enhanced Metal tools that understand HLSL shaders to validate, debug, and profile your ported shaders on Metal.
