How can i render metal in swiftui?
Asked on 2024-08-02
1 search

To render Metal in SwiftUI, you can use shaders written in the Metal Shading Language. Here's a step-by-step guide based on the information from the WWDC session "Create custom visual effects with SwiftUI":
-
Write a Shader in Metal: Shaders are small programs that run on the GPU to calculate rendering effects. These shaders are written in the Metal Shading Language. For example, you might have a shader function like this in your Metal file:
kernel void ripple(texture2d<float, access::read> inTexture [[texture(0)]], texture2d<float, access::write> outTexture [[texture(1)]], uint2 gid [[thread_position_in_grid]]) { // Shader code to create a ripple effect } -
Instantiate the Shader in SwiftUI: In SwiftUI, you can instantiate a shader by calling a function with its name on the shader library. You can also pass additional parameters to your shader function, such as colors, numbers, or images.
let shader = ShaderLibrary.default.makeFunction(name: "ripple") -
Apply the Shader to a View: Use the
layerEffectview modifier to apply the shader to a SwiftUI view. SwiftUI will call your shader function for every pixel of the view.struct ContentView: View { var body: some View { Image("example") .layerEffect(shader, maxSampleOffset: .zero) } } -
Create a View Modifier for Custom Effects: You can create a custom view modifier to expose the parameters of the shader function to SwiftUI.
struct RippleModifier: ViewModifier {
    var shader: Shader
    var parameters: [String: Any]

    func body(content: Content) -> some View {
        content.layerEffect(shader, parameters: parameters)
    }
}
For more detailed information, you can refer to the Create custom visual effects with SwiftUI (19:40) session from WWDC 2024.
Relevant Sessions

Create custom visual effects with SwiftUI
Discover how to create stunning visual effects in SwiftUI. Learn to build unique scroll effects, rich color treatments, and custom transitions. We’ll also explore advanced graphic effects using Metal shaders and custom text rendering.
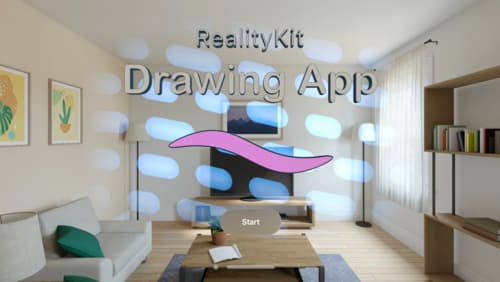
Build a spatial drawing app with RealityKit
Harness the power of RealityKit through the process of building a spatial drawing app. As you create an eye-catching spatial experience that integrates RealityKit with ARKit and SwiftUI, you’ll explore how resources work in RealityKit and how to use features like low-level mesh and texture APIs to achieve fast updates of the users’ brush strokes.
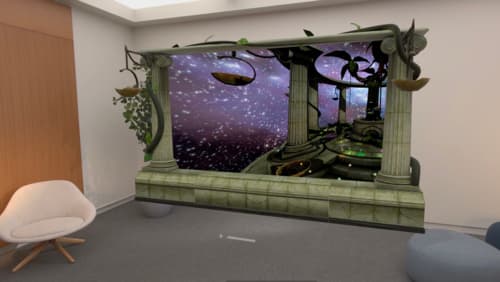
Bring your iOS or iPadOS game to visionOS
Discover how to transform your iOS or iPadOS game into a uniquely visionOS experience. Increase the immersion (and fun factor!) with a 3D frame or an immersive background. And invite players further into your world by adding depth to the window with stereoscopy or head tracking.