how to write TableViewController in objective-c
Asked on 2024-08-02
1 search
To write a UITableViewController in Objective-C, you can follow these steps:
-
Create a new class that inherits from
UITableViewController. -
Implement the required data source methods to populate the table view.
-
Optionally, implement delegate methods to handle user interactions.
Here is a basic example:
#import <UIKit/UIKit.h>

@interface MyTableViewController : UITableViewController

@property (nonatomic, strong) NSArray *dataArray;

@end

@implementation MyTableViewController

- (void)viewDidLoad {
    [super viewDidLoad];

    // Initialize your data array
    self.dataArray = @[@"Item 1", @"Item 2", @"Item 3"];

    // Register a cell class for reuse
    [self.tableView registerClass:[UITableViewCell class] forCellReuseIdentifier:@"Cell"];
}

#pragma mark - Table view data source

- (NSInteger)numberOfSectionsInTableView:(UITableView *)tableView {
    // Return the number of sections
    return 1;
}

- (NSInteger)tableView:(UITableView *)tableView numberOfRowsInSection:(NSInteger)section {
    // Return the number of rows in the section
    return self.dataArray.count;
}

- (UITableViewCell *)tableView:(UITableView *)tableView cellForRowAtIndexPath:(NSIndexPath *)indexPath {
    UITableViewCell *cell = [tableView dequeueReusableCellWithIdentifier:@"Cell" forIndexPath:indexPath];

    // Configure the cell
    cell.textLabel.text = self.dataArray[indexPath.row];

    return cell;
}

#pragma mark - Table view delegate

- (void)tableView:(UITableView *)tableView didSelectRowAtIndexPath:(NSIndexPath *)indexPath {
    // Handle row selection
    NSLog(@"Selected row: %@", self.dataArray[indexPath.row]);
}

@end
Explanation:
-
viewDidLoad: This method is called after the view controller has loaded its view hierarchy into memory. Here, you initialize your data array and register a cell class for reuse. -
numberOfSectionsInTableView:: This method returns the number of sections in the table view. In this example, there is only one section. -
tableView:numberOfRowsInSection:: This method returns the number of rows in a given section. It uses the count of thedataArray. -
tableView:cellForRowAtIndexPath:: This method configures and returns a cell for a given index path. It dequeues a reusable cell and sets its text label to the corresponding item in thedataArray. -
tableView:didSelectRowAtIndexPath:: This delegate method is called when a row is selected. Here, it simply logs the selected item.
For more advanced features and customization, you can refer to the What's new in UIKit session from WWDC 2024, which covers updates and new APIs in UIKit, including improvements to table views.

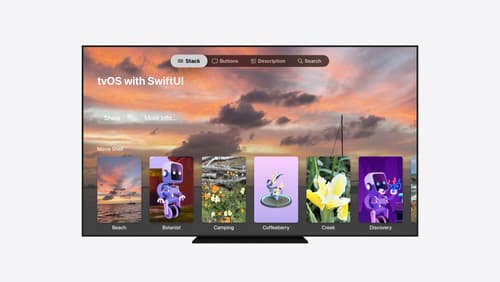
Migrate your TVML app to SwiftUI
SwiftUI helps you build great apps on all Apple platforms and is the preferred toolkit for bringing your content into the living room with tvOS 18. Learn how to use SwiftUI to create familiar layouts and controls from TVMLKit, and get tips and best practices.

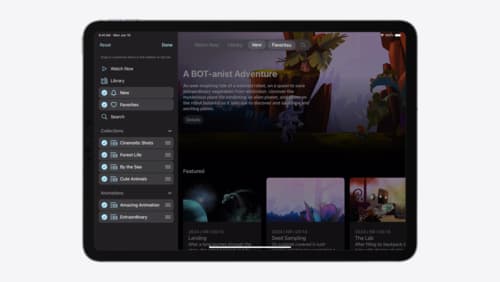
Elevate your tab and sidebar experience in iPadOS
iPadOS 18 introduces a new navigation system that gives people the flexibility to choose between using a tab bar or sidebar. The newly redesigned tab bar provides more space for content and other functionality. Learn how to use SwiftUI and UIKit to enable customization features – like adding, removing and reordering tabs – to enable a more personal touch in your app.

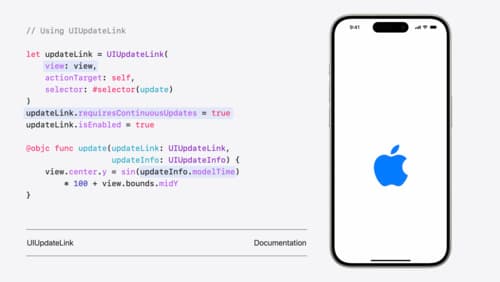
What’s new in UIKit
Explore everything new in UIKit, including tab and document launch experiences, transitions, and text and input changes. We’ll also discuss better-than-ever interoperability between UIKit and SwiftUI animations and gestures, as well as general improvements throughout UIKit.
