How can I use the contactProvider framework?
Asked on 2024-08-03
1 search

To use the ContactProvider framework, you can follow the guidelines and examples provided in the session "Meet the Contact Access Button" from WWDC 2024. Here are the key points:
-
Authorization Levels:
- Not Determined: The authorization prompt will be presented when your app attempts to access the contact store.
- Authorized: Your app can read or write contact data.
- Denied: Your app cannot access contact data.
- Limited: Your app can only access a subset of contacts.
-
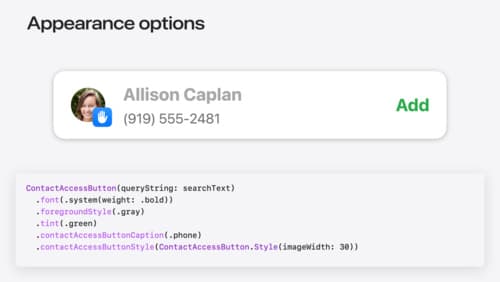
Contact Access Button:
- This button fits into your existing UI and can grant access to new contacts with a single tap.
- It is particularly useful when your app has limited authorization.
- When tapped, it retrieves the contacts using
CNContactStore.
-
CNContactStore:
- This is the primary way to access contact data.
- It can fetch contacts and create new contact entries.
- It automatically presents the authorization prompt when queried.
-
CNContactPickerViewController:
- This view controller presents a system UI for picking one or more contacts.
- It works regardless of the authorization level and provides a one-time snapshot of the selected contacts.
-
Fetching Contacts:
- Use
CNContactStoreto fetch contacts by their identifiers. - Example: Create a
CNContactFetchRequestand useCNContactStore'senumerateContactsmethod to collect the results.
- Use
For a detailed example and further explanation, you can refer to the session Meet the Contact Access Button (08:34).
Relevant Sessions
Meet the Contact Access Button
Learn about the new Contacts authorization modes and how to improve Contacts access in your app. Discover how to integrate the Contact Access Button into your app to share additional contacts on demand and provide an easier path to Contacts authorization. We’ll also cover Contacts security features and an alternative API to be used if the button isn’t appropriate for your app.
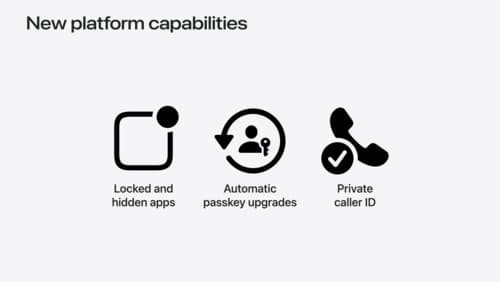
What’s new in privacy
At Apple, we believe privacy is a fundamental human right. Learn about new and improved permission flows and other features that manage data in a privacy-preserving way, so that you can focus on creating great app experiences.