how do i create a nav bar in swiftui
Asked on 2024-08-03
1 search
To create a navigation bar in SwiftUI, you can use the NavigationView and NavigationStack components. Here is a basic example of how to set up a navigation bar:
import SwiftUI

struct ContentView: View {
    var body: some View {
        NavigationView {
            VStack {
                Text("Hello, World!")
            }
            .navigationTitle("Home")
            .navigationBarItems(trailing: Button(action: {
                print("Button tapped")
            }) {
                Image(systemName: "plus")
            })
        }
    }
}

struct ContentView_Previews: PreviewProvider {
    static var previews: some View {
        ContentView()
    }
}
In this example:
NavigationViewis used to create a navigation context.navigationTitlesets the title of the navigation bar.navigationBarItemsallows you to add items to the navigation bar, such as buttons.
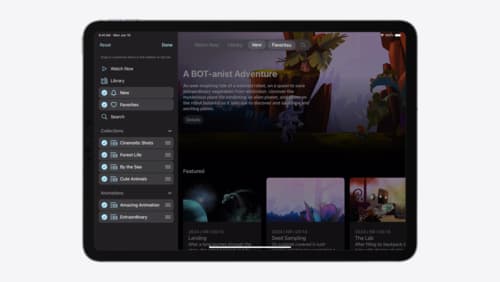
For more advanced navigation and customization, you can explore the new features in SwiftUI introduced in iOS 18. For example, the session Elevate your tab and sidebar experience in iPadOS discusses updates to the tab bar and sidebar, which can be useful for creating more integrated navigation experiences.
If you want to dive deeper into SwiftUI essentials, you can check out the session SwiftUI essentials which covers built-in capabilities and more advanced topics.

Get started with Dynamic Type
Dynamic Type lets people choose their preferred text size across the system and all of their apps. To help you get started supporting Dynamic Type, we’ll cover the fundamentals: How it works, how to find issues with scaling text in your app, and how to take practical steps using SwiftUI and UIKit to create a great Dynamic Type experience. We’ll also show how you can best use the Large Content Viewer to make navigation controls accessible to everyone.

Migrate your TVML app to SwiftUI
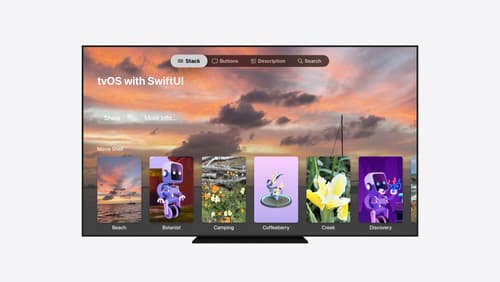
SwiftUI helps you build great apps on all Apple platforms and is the preferred toolkit for bringing your content into the living room with tvOS 18. Learn how to use SwiftUI to create familiar layouts and controls from TVMLKit, and get tips and best practices.

Elevate your tab and sidebar experience in iPadOS
iPadOS 18 introduces a new navigation system that gives people the flexibility to choose between using a tab bar or sidebar. The newly redesigned tab bar provides more space for content and other functionality. Learn how to use SwiftUI and UIKit to enable customization features – like adding, removing and reordering tabs – to enable a more personal touch in your app.
