how to use constraints
Asked on 2024-08-03
1 search

To use constraints in Reality Composer Pro, you can follow these steps:
-
Define Constraints for the Rig:
- Parent Constraint: Constrains a joint's position and orientation.
- Point Constraint: Constrains a joint's position.
For example, you can set up two parent constraints and a point constraint to control the movement of a joint. This is useful for ensuring that the joint moves in a natural way and doesn't bend in unrealistic directions.
Compose interactive 3D content in Reality Composer Pro (21:12)
-
Create and Configure an IK Rig:
- Instantiate an IK rig and define how the inverse kinematics solver should work.
- Add constraints to prevent unnatural movements, such as bending an elbow in the wrong direction.
- Create an IK resource from the IK rig and add it to an entity.
Compose interactive 3D content in Reality Composer Pro (19:12)
-
Use Physics Joints:
- Joints connect two physics bodies together through constraints.
- For example, a fixed joint disallows both translation and rotation, while a spherical joint allows for limited rotation around certain axes but no translation.
Discover RealityKit APIs for iOS, macOS and visionOS (14:09)
-
Custom Joints:
- If built-in joints do not meet your needs, you can create custom joints to constrain angular and linear motion separately.
- For instance, you can create a custom joint that restricts angular motion around the X axis more than other axes to prevent excessive rotation.
Discover RealityKit APIs for iOS, macOS and visionOS (17:11)
By following these steps, you can effectively use constraints to control the movement and interaction of 3D entities in Reality Composer Pro.
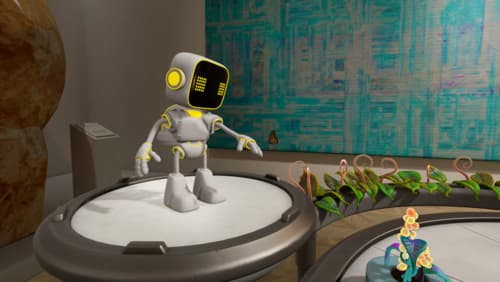
Compose interactive 3D content in Reality Composer Pro
Discover how the Timeline view in Reality Composer Pro can bring your 3D content to life. Learn how to create an animated story in which characters and objects interact with each other and the world around them using inverse kinematics, blend shapes, and skeletal poses. We’ll also show you how to use built-in and custom actions, sequence your actions, apply triggers, and implement natural movements.

Optimize your 3D assets for spatial computing
Dive into an end-to-end workflow for optimized 3D asset creation. Discover best practices for optimizing meshes, materials, and textures in your digital content creation tool. Learn how to harness shader graph, baking, and material instances to enhance your 3D scene while optimizing performance. Take advantage of native tools to work more effectively with your assets and improve your app’s performance.
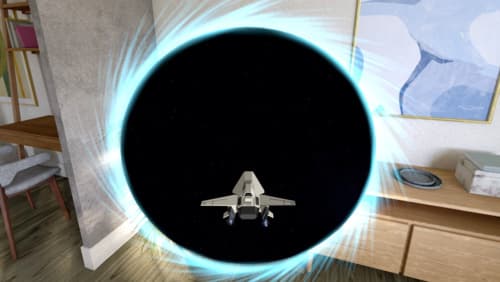
Discover RealityKit APIs for iOS, macOS and visionOS
Learn how new cross-platform APIs in RealityKit can help you build immersive apps for iOS, macOS, and visionOS. Check out the new hover effects, lights and shadows, and portal crossing features, and view them in action through real examples.