How do I animate a UIHostingController size with SwiftUI animations?
Asked on 2024-08-05
1 search
To animate a UIHostingController size with SwiftUI animations, you can leverage the new interoperability improvements between SwiftUI and UIKit. Specifically, you can use the new animate function on UIView and NSAnimationContext to bridge SwiftUI animations into UIKit.
Here's a step-by-step approach based on the information from the WWDC sessions:
-
Use the
animateMethod: Theanimatemethod on the context allows you to apply any SwiftUI animation to the transaction associated with the update. This ensures that the animation runs in sync across both SwiftUI and UIKit views. -
Bridge the Animation: In your
updateUIViewmethod, you can grab the SwiftUI animation present on the transaction and bridge it to theUIView.animatemethod. This way, you can animate UIKit views using SwiftUI animations. -
Handle Transactions: If the current transaction isn't animated, the animation and completion are called immediately in line. This ensures that your code works whether the update is animated or not.
For a detailed explanation and example, you can refer to the session Enhance your UI animations and transitions (10:23).
Example Code
Here's a simplified example to illustrate the concept:
import SwiftUI
import UIKit

struct ContentView: View {
    @State private var isExpanded = false

    var body: some View {
        VStack {
            Button("Toggle Size") {
                withAnimation {
                    isExpanded.toggle()
                }
            }
            .padding()

            HostingControllerWrapper(isExpanded: $isExpanded)
                .frame(width: isExpanded ? 300 : 100, height: isExpanded ? 300 : 100)
                .animation(.spring(), value: isExpanded)
        }
    }
}

struct HostingControllerWrapper: UIViewControllerRepresentable {
    @Binding var isExpanded: Bool

    func makeUIViewController(context: Context) -> UIHostingController<InnerView> {
        return UIHostingController(rootView: InnerView())
    }

    func updateUIViewController(_ uiViewController: UIHostingController<InnerView>, context: Context) {
        let animation = context.transaction.animation
        UIView.animate(withDuration: animation?.duration ?? 0) {
            uiViewController.view.frame.size = CGSize(width: isExpanded ? 300 : 100, height: isExpanded ? 300 : 100)
        }
    }
}

struct InnerView: View {
    var body: some View {
        Color.blue
    }
}
In this example, the HostingControllerWrapper uses a UIViewControllerRepresentable to embed a SwiftUI view inside a UIKit view. The updateUIViewController method bridges the SwiftUI animation to UIKit using UIView.animate.
For more information on using animations across frameworks, you can also check out the session What’s new in SwiftUI (18:24).

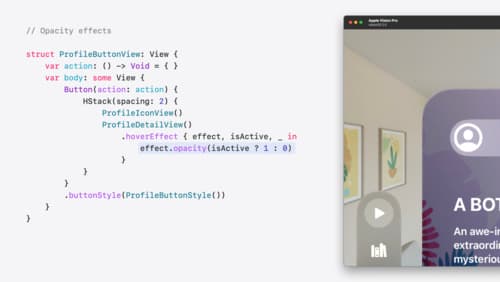
Create custom hover effects in visionOS
Learn how to develop custom hover effects that update views when people look at them. Find out how to build an expanding button effect that combines opacity, scale, and clip effects. Discover best practices for creating effects that are comfortable and respect people’s accessibility needs.

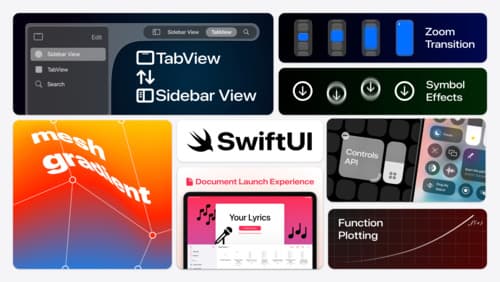
What’s new in SwiftUI
Learn how you can use SwiftUI to build great apps for any Apple platform. Explore a fresh new look and feel for tabs and documents on iPadOS. Improve your window management with new windowing APIs, and gain more control over immersive spaces and volumes in your visionOS apps. We’ll also take you through other exciting refinements that help you make expressive charts, customize and layout text, and so much more.

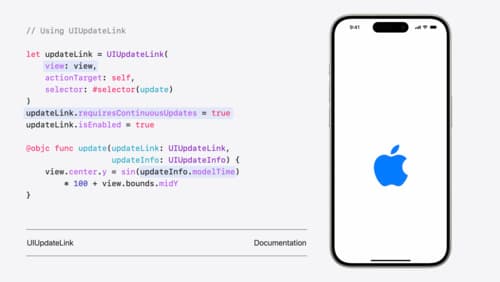
What’s new in UIKit
Explore everything new in UIKit, including tab and document launch experiences, transitions, and text and input changes. We’ll also discuss better-than-ever interoperability between UIKit and SwiftUI animations and gestures, as well as general improvements throughout UIKit.
