how do I build a timeline?
Asked on 2024-08-05
1 search
To build a timeline in Reality Composer Pro, you can follow these steps:
-
Create a Timeline:
- Open Reality Composer Pro and navigate to the bottom panel where you will find a tab called "timelines".
- Click on the "create timeline" button to create a new timeline.
- You can rename your timeline by selecting it, double-tapping, and typing the new name.
-
Add Actions to the Timeline:
- On the left panel, you will see a list of all your available timelines.
- The center panel is your main timeline editor where you can configure and sequence actions.
- On the right panel, you will find a list of pre-built actions that you can drag and drop onto your timeline.
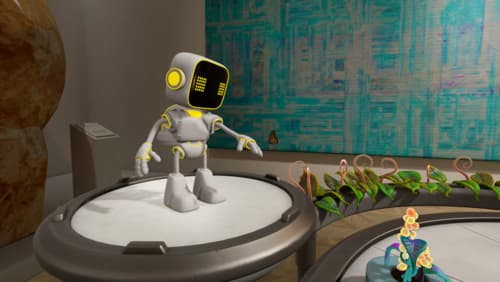
- For example, to make a robot spin, drag the "spin" action onto your timeline and configure it by selecting the target entity (e.g., the robot).
-
Sequence Multiple Actions:
- You can drag actions from one track to another to sequence multiple actions to run simultaneously.
- For instance, you can create another timeline to coordinate a walk animation and audio. Add an animation library component and an audio library component to store and associate animations and audio with an entity.
-
Preview and Adjust:
- Use the play button to preview your timeline and make adjustments as needed.
- You can nest timelines by right-clicking on a timeline and selecting the "insert into timeline" option. This allows you to have a timeline playing inside another timeline.
-
Initiate the Timeline:
- Add a behaviors component to the entity you want to trigger the timeline.
- Set up a trigger, such as a tap gesture, to initiate the timeline. Select the entity (e.g., a plant), add a behaviors component, and choose the tap trigger.
For a detailed walkthrough, you can refer to the session Compose interactive 3D content in Reality Composer Pro starting at 02:54.
Relevant Sessions

Enhance ad experiences with HLS interstitials
Explore how HLS Interstitials can help you seamlessly insert advertisements into your HLS content. We’ll also show you how to use integrated timeline to tune your UI experience and build SharePlay for interstitials.

Compose interactive 3D content in Reality Composer Pro
Discover how the Timeline view in Reality Composer Pro can bring your 3D content to life. Learn how to create an animated story in which characters and objects interact with each other and the world around them using inverse kinematics, blend shapes, and skeletal poses. We’ll also show you how to use built-in and custom actions, sequence your actions, apply triggers, and implement natural movements.
