What is the best way to get started with Swift Testing?
Asked on 2024-08-05
1 search

To get started with Swift Testing, you can follow these steps:
-
Add a Test Bundle Target:
- In Xcode, choose
File > New > Target, then search forUnit Testing Bundlein the test section. Swift Testing is the default choice for this template in Xcode 16. Choose a name for your new target and click finish.
- In Xcode, choose
-
Write Your First Test:
- Add a function with a
@Testattribute to your test suite. You can provide a friendly title and use macros like#expectto evaluate the result of any Swift expression, making it easy to write complex checks.
- Add a function with a
-
Organize Your Tests:
- Use tags to organize and filter your tests. You can selectively run tests across your test suite, like tests that use a certain module or that run on a specific device. Parameterize tests to reuse the same logic over a sequence of values.
-
Run Tests:
- You can run tests directly from Xcode or from the command line using
swift test. The console will show pass and fail results with detailed failure messages.
- You can run tests directly from Xcode or from the command line using
-
Explore More Features:
- Swift Testing supports concurrency, allowing tests to run safely in parallel. It is integrated into major tools and IDEs in the Swift ecosystem, including Swift Package Manager, Xcode, and Visual Studio Code.
For a more detailed introduction, you can watch the session Meet Swift Testing.
Relevant Sessions
These sessions provide a comprehensive overview and deeper insights into Swift Testing, its features, and how to effectively use it in your development workflow.
What’s new in Swift
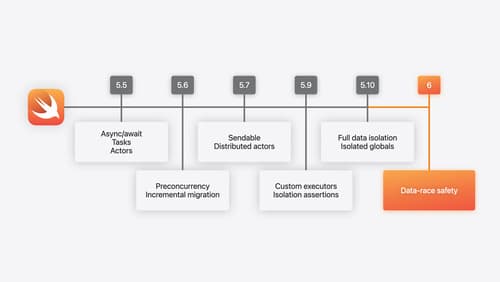
Join us for an update on Swift. We’ll briefly go through a history of Swift over the past decade, and show you how the community has grown through workgroups, expanded the package ecosystem, and increased platform support. We’ll introduce you to a new language mode that achieves data-race safety by default, and a language subset that lets you run Swift on highly constrained systems. We’ll also explore some language updates including noncopyable types, typed throws, and improved C++ interoperability.

Platforms State of the Union
Discover the newest advancements on Apple platforms.
Go further with Swift Testing
Learn how to write a sweet set of (test) suites using Swift Testing’s baked-in features. Discover how to take the building blocks further and use them to help expand tests to cover more scenarios, organize your tests across different suites, and optimize your tests to run in parallel.