how do i use the translation api
Asked on 2024-08-06
1 search
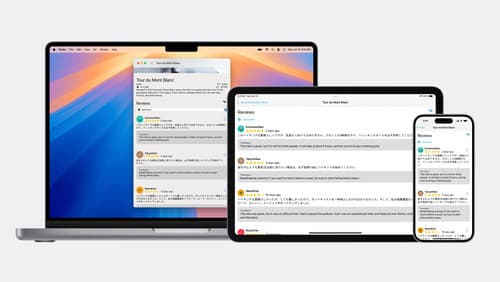
To use the Translation API, you have two main options: a simple overlay translation and a more flexible text translation API. Here’s a brief overview of how to use each:
Simple Overlay Translation
This is the easiest way to add translation to your app. With just one line of SwiftUI, you can show users a translation of text into their own language.
- Add Storage: Control the translation session configuration.
- Trigger Translation: Provide the text to translate and then trigger the translation.
For more details, you can refer to the Simple overlay translation section.
Flexible Translation API
This API gives you more flexibility and is useful for scenarios where you need to translate multiple strings or display translations inline with other content.
- Create a Translation Session: Use the
translation sessionclass to translate one or more strings at a time. - Perform Translation: Use the session to translate a batch of text. Results come back asynchronously.
- Handle Results: Update your UI with the translation results as they come in.
For more details, you can refer to the Flexible translation section.
Best Practices
- Development Environment: Ensure you are developing on an iPhone, iPad, or Mac, as the translation APIs do not function in the simulator.
- Language Support: Use the language availability class to check which languages are supported.
- Batch Translation: When translating multiple strings of the same language, use batch translation functions for efficiency.
For more details, you can refer to the Best practices section.
Additional Tips
- Client Identifier: When using the function that streams results, set the client identifier on each request to distinguish between responses.
- Language Detection: Use
NL language recognizerto identify the language of the text if needed.
For a comprehensive guide, you can watch the full session Meet the Translation API.

