how do i create a meshgradient
Asked on 2024-08-06
1 search
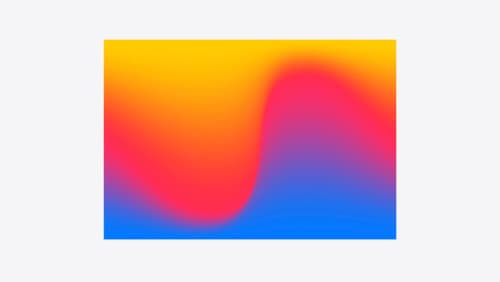
To create a mesh gradient in SwiftUI, you can follow the steps outlined in the session "Create custom visual effects with SwiftUI" from WWDC 2024. Here’s a summary of the process:
-
Define the Grid: Use the new
MeshGradientview to define the rows and columns of your grid using the width and height parameters. For example, you might use a 3x3 grid. -
Set Coordinates: Define the x and y coordinates on this grid. Points in the grid are defined using
simd_float2values, which take a value from 0 to 1 on the x and y axes. -
Assign Colors: Add a corresponding color for each of these points. SwiftUI will interpolate between these colors to create a smooth gradient.
-
Adjust Control Points: You can move the control points to create different visual effects. The colors will move to match the new positions of these points.
-
Experiment: Play around with the values like the position of control points, grid size, and color palette to create unique visual effects.
For more detailed information, you can refer to the session Create custom visual effects with SwiftUI (07:10).
Relevant Sessions
These sessions provide insights into creating mesh gradients and working with mesh geometry in SwiftUI and RealityKit.

Build a spatial drawing app with RealityKit
Harness the power of RealityKit through the process of building a spatial drawing app. As you create an eye-catching spatial experience that integrates RealityKit with ARKit and SwiftUI, you’ll explore how resources work in RealityKit and how to use features like low-level mesh and texture APIs to achieve fast updates of the users’ brush strokes.

Create custom visual effects with SwiftUI
Discover how to create stunning visual effects in SwiftUI. Learn to build unique scroll effects, rich color treatments, and custom transitions. We’ll also explore advanced graphic effects using Metal shaders and custom text rendering.

Discover area mode for Object Capture
Discover how area mode for Object Capture enables new 3D capture possibilities on iOS by extending the functionality of Object Capture to support capture and reconstruction of an area. Learn how to optimize the quality of iOS captures using the new macOS sample app for reconstruction, and find out how to view the final results with Quick Look on Apple Vision Pro, iPhone, iPad or Mac. Learn about improvements to 3D reconstruction, including a new API that allows you to create your own custom image processing pipelines.
