How to use accessibilityLabel
Asked on 2024-08-06
1 search
To use the accessibilityLabel in SwiftUI, you can follow these guidelines from the session "Catch up on accessibility in SwiftUI":
-
Combining Labels: If you need to append additional information to an existing label without overriding it, you can use the
accessibilityLabelmodifier. This modifier now accepts a view and will extract the text from the view to set it on the element's label. This allows you to combine the existing label with new content dynamically. For example, you can append a rating to a trip element's label to make it easier to find with VoiceOver. This is discussed in detail at Catch up on accessibility in SwiftUI (14:54). -
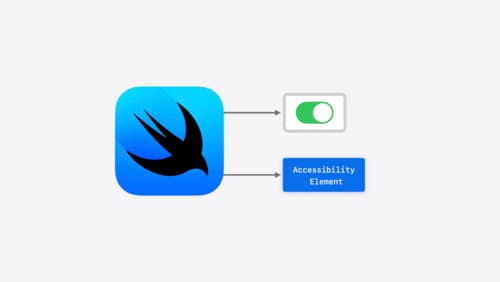
Creating Elements for Non-Element Views: If a view does not have an accessibility element by default, such as a shape view, you can create one using the
accessibilityLabelmodifier. This will make the view visible to accessibility technologies. For instance, you can add a label to describe if a comment is unread by creating an element for the indicator view and setting its label to "unread". This is explained at Catch up on accessibility in SwiftUI (07:06). -
Conditional Labels: You can conditionally apply labels using the
accessibilityLabelmodifier with theisenabledparameter. This allows you to apply the label only when certain conditions are met, and fallback to default labels otherwise. For example, you can apply a "super favorite" label only when a comment is marked as such. This is covered at Catch up on accessibility in SwiftUI (11:06).
For a comprehensive understanding of these features, you can watch the session "Catch up on accessibility in SwiftUI" which covers various aspects of enhancing accessibility in SwiftUI applications.

Catch up on accessibility in SwiftUI
SwiftUI makes it easy to build amazing experiences that are accessible to everyone. We’ll discover how assistive technologies understand and navigate your app through the rich accessibility elements provided by SwiftUI. We’ll also discuss how you can further customize these experiences by providing more information about your app’s content and interactions by using accessibility modifiers.

What’s new in SwiftUI
Learn how you can use SwiftUI to build great apps for any Apple platform. Explore a fresh new look and feel for tabs and documents on iPadOS. Improve your window management with new windowing APIs, and gain more control over immersive spaces and volumes in your visionOS apps. We’ll also take you through other exciting refinements that help you make expressive charts, customize and layout text, and so much more.
