how to create an annotation?
Asked on 2024-08-06
1 search
To create an annotation, you can follow different approaches depending on the context and the tool you are using. Here are two examples from WWDC sessions:
In Create ML
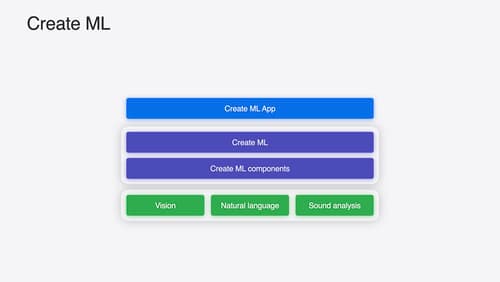
When working with the Create ML app, annotations are crucial for training machine learning models. Here's a practical example:
- Visualize and Debug Annotations: In the Create ML app, you can click on your data source on the left to display a distribution of your data. Use the "explore" option to drill into a specific object or class label to visualize your annotations. For instance, if you're building an app to detect breakfast items, you might notice that some images have a bounding box drawn on the surface of the coffee while others are drawn around the coffee cup. Preview your data source to verify that your annotations match your expectations before starting the training.
For more details, you can refer to the session What’s new in Create ML (03:27).
In Xcode
Annotations in Xcode can be used to manage warnings, errors, and bookmarks:
- Warnings and Errors: Xcode will annotate lines with warnings or errors. These annotations are interactive, and you can click on them to see more information or apply suggested fixes.
- Bookmarks: You can add bookmarks to lines of code by right-clicking anywhere in the editor. This is useful for task management and navigating your code.
- Mark Comments: For more permanent annotations, you can add mark comments to your file. These act as section titles and appear in the minimap and the editor content jump bar.
For more details, you can refer to the session Xcode essentials (10:39).
Sessions Mentioned
If you need more specific information or a different context, feel free to ask!

What’s new in Create ML
Explore updates to Create ML, including interactive data source previews and a new template for building object tracking models for visionOS apps. We’ll also cover important framework improvements, including new time-series forecasting and classification APIs.

Xcode essentials
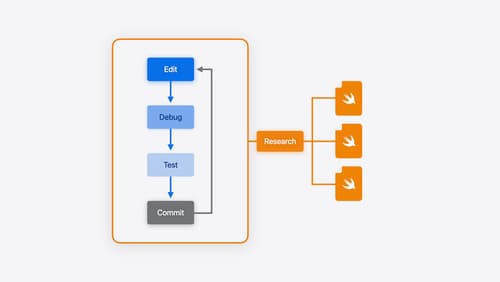
Edit, debug, commit, repeat. Explore the suite of tools in Xcode that help you iterate quickly when developing apps. Discover tips and tricks to help optimize and boost your development workflow.

Explore object tracking for visionOS
Find out how you can use object tracking to turn real-world objects into virtual anchors in your visionOS app. Learn how you can build spatial experiences with object tracking from start to finish. Find out how to create a reference object using machine learning in Create ML and attach content relative to your target object in Reality Composer Pro, RealityKit or ARKit APIs.
