how to use menu compoennt
Asked on 2024-08-07
1 search
To use the menu component in your app, you can leverage the new SwiftUI integrations with AppKit. Here's a step-by-step guide based on the information from the WWDC session "What’s new in AppKit":
-
Create a SwiftUI Menu:
- Define your menu using a SwiftUI view. You can use various SwiftUI views to describe the data relationship, such as toggles, pickers, and buttons.
- Example:
import SwiftUI

struct MyMenu: View {
    var body: some View {
        Menu {
            Button("Action 1", action: { /* perform action 1 */ })
            Button("Action 2", action: { /* perform action 2 */ })
            Toggle("Toggle Option", isOn: $toggleState)
            Picker("Picker Option", selection: $selectedOption) {
                Text("Option 1").tag(1)
                Text("Option 2").tag(2)
            }
        } label: {
            Text("Menu")
        }
    }
}
-
Initialize an NSHostingMenu:
- Use
NSHostingMenuto initialize the menu with the SwiftUI view you created. - Example:
import AppKit
import SwiftUI

let myMenu = NSHostingMenu(rootView: MyMenu())
- Use
-
Use the Menu in AppKit Contexts:
- You can use this menu in any AppKit context that accepts an
NSMenu, such as the newNSPopupButtoninitializer with a pull-down menu parameter. - Example:
let popupButton = NSPopUpButton()
popupButton.menu = myMenu
- You can use this menu in any AppKit context that accepts an
For more detailed information, you can refer to the session "What’s new in AppKit" at timestamp 06:18.

Elevate your tab and sidebar experience in iPadOS
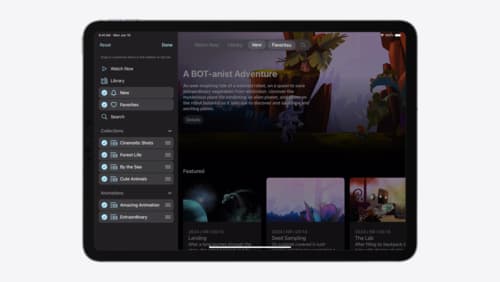
iPadOS 18 introduces a new navigation system that gives people the flexibility to choose between using a tab bar or sidebar. The newly redesigned tab bar provides more space for content and other functionality. Learn how to use SwiftUI and UIKit to enable customization features – like adding, removing and reordering tabs – to enable a more personal touch in your app.

What’s new in AppKit
Discover the latest advances in Mac app development. Get an overview of the new features in macOS Sequoia, and how to adopt them in your app. Explore new ways to integrate your existing code with SwiftUI. Learn about the improvements made to numerous AppKit controls, like toolbars, menus, text input, and more.

What’s new in UIKit
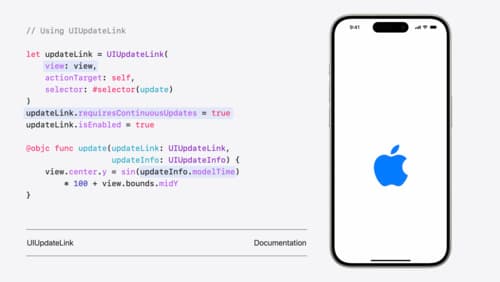
Explore everything new in UIKit, including tab and document launch experiences, transitions, and text and input changes. We’ll also discuss better-than-ever interoperability between UIKit and SwiftUI animations and gestures, as well as general improvements throughout UIKit.
