How to use @Binding
Asked on 2024-08-08
2 searches

To use @Binding in SwiftUI, you can follow these steps:
-
Define a State Property: In the parent view, define a state property that will hold the value you want to bind.
-
Pass the Binding: Pass a binding of this state property to the child view.
-
Use the Binding: In the child view, use the
@Bindingproperty wrapper to create a two-way reference to the state property in the parent view.
Here's a simple example to illustrate:
Parent View
import SwiftUI

struct ParentView: View {
    @State private var rating: Int = 0

    var body: some View {
        VStack {
            Text("Rating: \(rating)")
            RatingView(rating: $rating)
        }
    }
}
Child View
import SwiftUI

struct RatingView: View {
    @Binding var rating: Int

    var body: some View {
        HStack {
            Button(action: {
                rating -= 1
            }) {
                Text("-")
            }
            Text("\(rating)")
            Button(action: {
                rating += 1
            }) {
                Text("+")
            }
        }
    }
}
In this example:
- The
ParentViewhas a state propertyrating. - The
RatingViewreceives a binding to this state property via$rating. - The
RatingViewcan then read and modify theratingvalue, and these changes will be reflected in theParentView.
For more detailed information, you can refer to the SwiftUI essentials session from WWDC 2024.
Enhance your UI animations and transitions
Explore how to adopt the zoom transition in navigation and presentations to increase the sense of continuity in your app, and learn how to animate UIKit views with SwiftUI animations to make it easier to build animations that feel continuous.
A Swift Tour: Explore Swift’s features and design
Learn the essential features and design philosophy of the Swift programming language. We’ll explore how to model data, handle errors, use protocols, write concurrent code, and more while building up a Swift package that has a library, an HTTP server, and a command line client. Whether you’re just beginning your Swift journey or have been with us from the start, this talk will help you get the most out of the language.
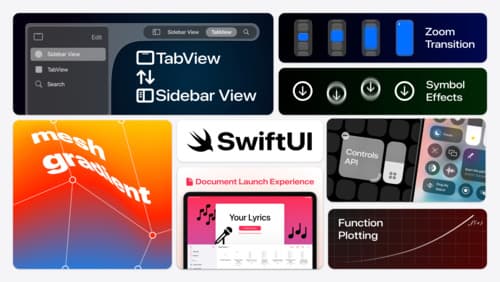
What’s new in SwiftUI
Learn how you can use SwiftUI to build great apps for any Apple platform. Explore a fresh new look and feel for tabs and documents on iPadOS. Improve your window management with new windowing APIs, and gain more control over immersive spaces and volumes in your visionOS apps. We’ll also take you through other exciting refinements that help you make expressive charts, customize and layout text, and so much more.