what were the changes in visionOS2 to navigationLink and navigationdestination
Asked on 2024-08-08
1 search

In visionOS 2, there have been notable changes to NavigationLink and NavigationDestination to enhance the user experience. Specifically, the introduction of the zoom transition allows for a more seamless and visually appealing navigation experience.
To implement the zoom transition, you need to:
- Add the
navigationTransitionStylemodifier to the presented view and specify the zoom transition. - Connect this modifier to a source view so that the system knows which view to zoom from.
This new transition style is designed to increase the sense of continuity in your app by keeping the same UI elements on screen across the transition.
For more details, you can refer to the session Enhance your UI animations and transitions at the timestamp 02:07.
Enhance your UI animations and transitions
Explore how to adopt the zoom transition in navigation and presentations to increase the sense of continuity in your app, and learn how to animate UIKit views with SwiftUI animations to make it easier to build animations that feel continuous.
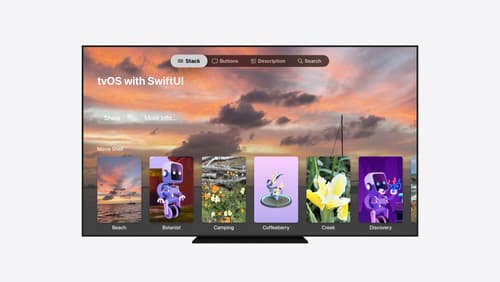
Migrate your TVML app to SwiftUI
SwiftUI helps you build great apps on all Apple platforms and is the preferred toolkit for bringing your content into the living room with tvOS 18. Learn how to use SwiftUI to create familiar layouts and controls from TVMLKit, and get tips and best practices.
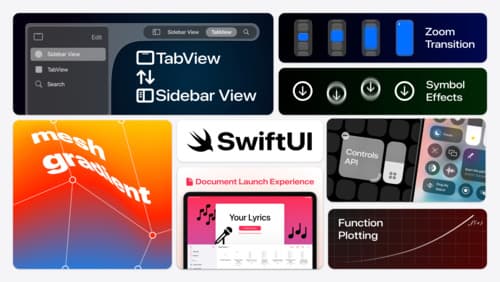
What’s new in SwiftUI
Learn how you can use SwiftUI to build great apps for any Apple platform. Explore a fresh new look and feel for tabs and documents on iPadOS. Improve your window management with new windowing APIs, and gain more control over immersive spaces and volumes in your visionOS apps. We’ll also take you through other exciting refinements that help you make expressive charts, customize and layout text, and so much more.