how do I add padding for the safe area in a view?
Asked on 2024-08-08
1 search

To add padding for the safe area in a view, you can use the safeAreaInsets in SwiftUI. This ensures that your UI elements are not obscured by hardware or software features like the device's rounded corners, the system home indicator, or the dynamic island on iPhone.
Here's a basic example of how you can achieve this in SwiftUI:
import SwiftUI

struct ContentView: View {
    var body: some View {
        VStack {
            Text("Hello, World!")
                .padding()
                .background(Color.blue)
        }
        .padding(.all, 20)
        .background(Color.green)
        .edgesIgnoringSafeArea(.all)
    }
}
In this example, the edgesIgnoringSafeArea(.all) modifier is used to extend the view to the edges of the screen, ignoring the safe area. However, if you want to respect the safe area, you can remove this modifier and use the padding modifier to add padding around your content.
For more detailed information on designing within safe areas, you can refer to the session Design advanced games for Apple platforms from WWDC 2024. This session discusses how to ensure every part of your UI is visible and accessible by designing within safe areas.
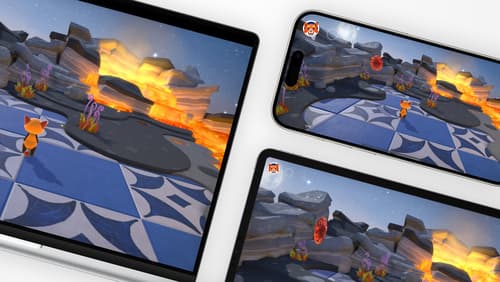
Design advanced games for Apple platforms
Learn how to adapt your high-end game so it feels at home on Mac, iPad, and iPhone. We’ll go over how to make your game look stunning on different displays, tailor your input and controls to be intuitive on each device, and take advantage of Apple technologies that deliver great player experiences.
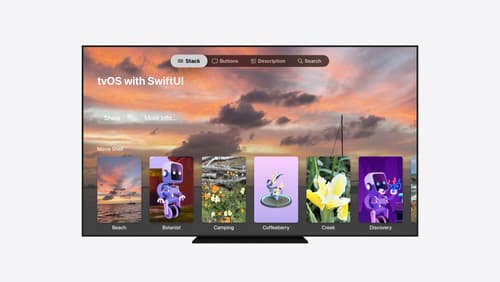
Migrate your TVML app to SwiftUI
SwiftUI helps you build great apps on all Apple platforms and is the preferred toolkit for bringing your content into the living room with tvOS 18. Learn how to use SwiftUI to create familiar layouts and controls from TVMLKit, and get tips and best practices.
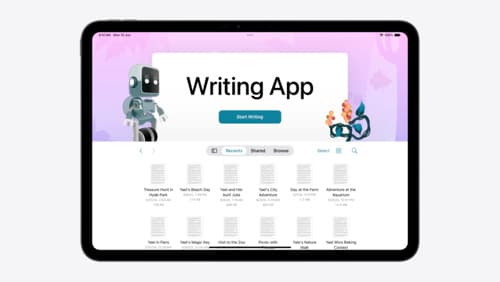
Evolve your document launch experience
Make your document-based app stand out, and bring its unique identity into focus with the new document launch experience. Learn how to leverage the new API to customize the first screen people see when they launch your app. Utilize the new system-provided design, and amend it with custom actions, delightful decorative views, and impressive animations.