How can I create a USDC file from images
Asked on 2024-07-15
1 search

To create a USDC file from images, you can follow these steps as outlined in the WWDC sessions:
-
Prepare Your 3D Scene: Use a Digital Content Creation (DCC) tool like Blender, Maya, or Houdini to create or import your 3D scene. For example, in Blender, you can set up your scene and ensure that your assets are properly named and organized.
-
Export as USDC: In your DCC tool, go to the export options and select the Universal Scene Description (USD) format. Choose the USDC file type, which is a binary format suitable for storing large amounts of data such as geometry. This format is efficient and can be opened in any USD-compatible application.
-
In Blender, you would go to the File menu, select Export, and then choose the USD format. Ensure that you leave the parameters as default unless you have specific requirements. You may need to set a root print name, which will carry over to Reality Composer Pro.
-
Example from Blender:
In Blender, go to the File menu, select Export, and choose Universal Scene Description (USD). Leave the parameters as default and set a root print name. This name will carry over to Reality Composer Pro.
-
-
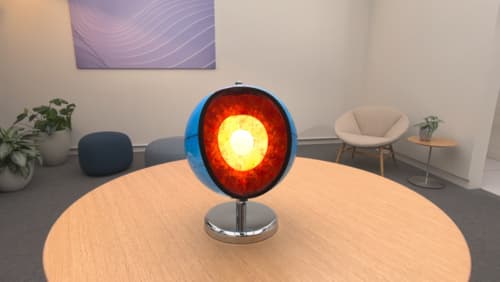
Import into Reality Composer Pro: Once you have your USDC file, you can import it into Reality Composer Pro. This tool allows you to further manipulate and optimize your 3D assets for spatial computing.
- Example from Reality Composer Pro:
In Reality Composer Pro, import the USDC file into a new project. You can then modify materials and other properties as needed.
- Example from Reality Composer Pro:
For more detailed steps and considerations, you can refer to the following sessions:
- Optimize your 3D assets for spatial computing (03:08)
- Create custom environments for your immersive apps in visionOS (06:19)
These sessions provide comprehensive guidance on exporting 3D assets and working with USD file types.
Explore object tracking for visionOS
Find out how you can use object tracking to turn real-world objects into virtual anchors in your visionOS app. Learn how you can build spatial experiences with object tracking from start to finish. Find out how to create a reference object using machine learning in Create ML and attach content relative to your target object in Reality Composer Pro, RealityKit or ARKit APIs.
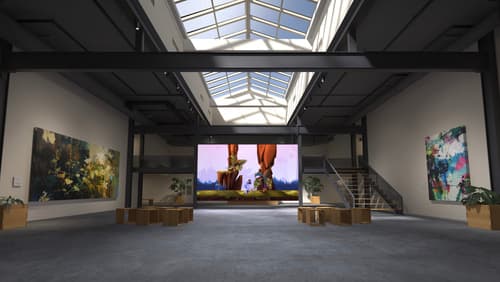
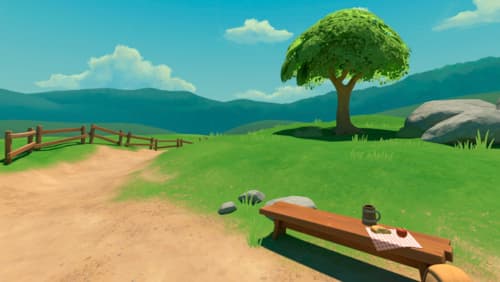
Create custom environments for your immersive apps in visionOS
Discover how to create visually rich and performant customized app environments for Apple Vision Pro. Learn design guidelines, get expert recommendations, and explore techniques you can use in any digital content creation tool to begin building your immersive environment.
Optimize your 3D assets for spatial computing
Dive into an end-to-end workflow for optimized 3D asset creation. Discover best practices for optimizing meshes, materials, and textures in your digital content creation tool. Learn how to harness shader graph, baking, and material instances to enhance your 3D scene while optimizing performance. Take advantage of native tools to work more effectively with your assets and improve your app’s performance.