How to use strict concurrency
Asked on 2024-08-12
1 search

To use strict concurrency in Swift 6, you can follow these steps as outlined in the session "Migrate your app to Swift 6" from WWDC 2024:
-
Enable Strict Concurrency Checking: Start by enabling strict concurrency checking in your project's build settings. This will opt your entire module into being checked for possible race conditions. It's often recommended to start with simpler targets, such as UI layers, which typically run on the main thread and use APIs that are concurrency-safe.
-
Address Compiler Warnings: Once strict concurrency checking is enabled, the Swift compiler will emit warnings about code that may not be concurrency-safe. These warnings are crucial for identifying potential data races in your code. You should methodically address these warnings to ensure your code is safe for concurrent execution.
-
Adopt Swift 6 Language Mode: Swift 6 introduces data race safety by default, turning potential data race issues into compile-time errors. This significantly improves the security and reliability of your app. You can adopt Swift 6 language mode module by module, allowing for a gradual transition.
-
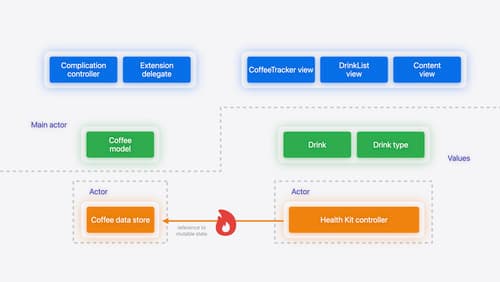
Use Concurrency Features: Leverage Swift's concurrency features such as actors for protecting mutable state and the
Sendableprotocol for safe data sharing. These features help in achieving data isolation and preventing data races. -
Incremental Migration: If your project generates a large number of warnings, focus on quick wins by making simple changes, such as marking methods with the
@MainActorattribute or making global variables immutable. This can quickly reduce the number of warnings.
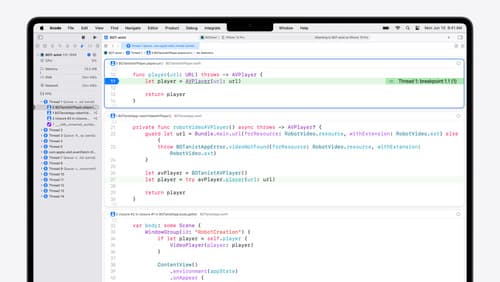
For a detailed walkthrough, you can refer to the session Migrate your app to Swift 6 (11:05) which covers enabling complete checking in the watch extension, and Migrate your app to Swift 6 (27:24) for enabling complete checking in CoffeeKit.
What’s new in Xcode 16
Discover the latest productivity and performance improvements in Xcode 16. Learn about enhancements to code completion, diagnostics, and Xcode Previews. Find out more about updates in builds and explore improvements in debugging and Instruments.
Migrate your app to Swift 6
Experience Swift 6 migration in action as we update an existing sample app. Learn how to migrate incrementally, module by module, and how the compiler helps you identify code that’s at risk of data races. Discover different techniques for ensuring clear isolation boundaries and eliminating concurrent access to shared mutable state.
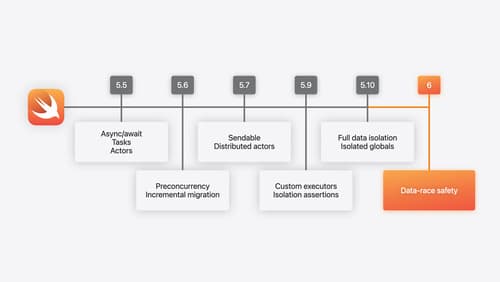
What’s new in Swift
Join us for an update on Swift. We’ll briefly go through a history of Swift over the past decade, and show you how the community has grown through workgroups, expanded the package ecosystem, and increased platform support. We’ll introduce you to a new language mode that achieves data-race safety by default, and a language subset that lets you run Swift on highly constrained systems. We’ll also explore some language updates including noncopyable types, typed throws, and improved C++ interoperability.