how correctly use nwpathmonitor?
Asked on 2024-08-14
1 search

To correctly use NWPathMonitor, you would typically follow these steps:
-
Initialize the Monitor: Create an instance of
NWPathMonitor. You can specify a specific interface type if you want to monitor a particular network interface, or use the default initializer to monitor all interfaces. -
Set the Update Handler: Assign a closure to the
pathUpdateHandlerproperty of the monitor. This closure will be called whenever the network path changes. Inside this closure, you can check the status of the path (e.g.,.satisfied,.unsatisfied,.requiresConnection) and take appropriate actions based on the network availability. -
Start the Monitor: Call the
start(queue:)method on the monitor, passing aDispatchQueuewhere the update handler will be executed. It's common to use a background queue for this. -
Stop the Monitor: When you no longer need to monitor the network path, call the
cancel()method on the monitor to stop it.
Here's a basic example in Swift:
import Network

let monitor = NWPathMonitor()

monitor.pathUpdateHandler = { path in
    if path.status == .satisfied {
        print("We're connected!")
    } else {
        print("No connection.")
    }

    print(path.isExpensive)
}

let queue = DispatchQueue.global(qos: .background)
monitor.start(queue: queue)

// To stop monitoring
// monitor.cancel()
This example sets up a network path monitor that prints a message whenever the network status changes, and it also checks if the connection is considered expensive (e.g., cellular data).
For more detailed information on debugging and logging, you might want to check out the session Run, Break, Inspect: Explore effective debugging in LLDB which covers various debugging techniques, including the use of breakpoints and logging.
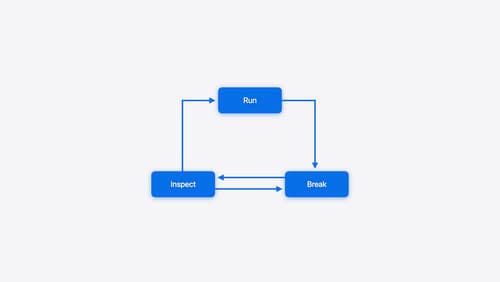
Run, Break, Inspect: Explore effective debugging in LLDB
Learn how to use LLDB to explore and debug codebases. We’ll show you how to make the most of crashlogs and backtraces, and how to supercharge breakpoints with actions and complex stop conditions. We’ll also explore how the “p” command and the latest features in Swift 6 can enhance your debugging experience.
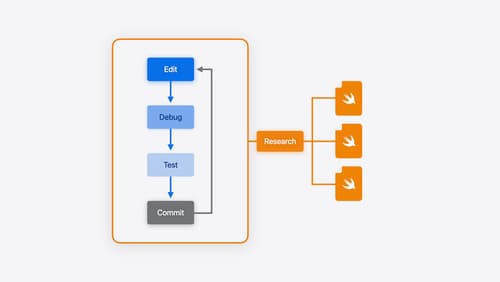
Xcode essentials
Edit, debug, commit, repeat. Explore the suite of tools in Xcode that help you iterate quickly when developing apps. Discover tips and tricks to help optimize and boost your development workflow.
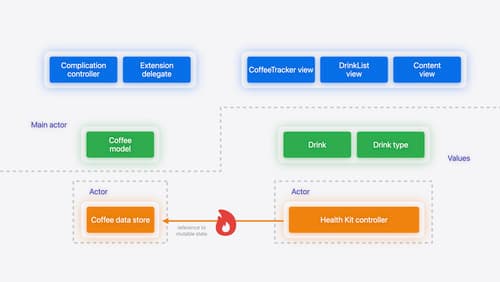
Migrate your app to Swift 6
Experience Swift 6 migration in action as we update an existing sample app. Learn how to migrate incrementally, module by module, and how the compiler helps you identify code that’s at risk of data races. Discover different techniques for ensuring clear isolation boundaries and eliminating concurrent access to shared mutable state.