how to use ContactsAccessButton from uikit?
Asked on 2024-08-25
1 search

To use the ContactsAccessButton from UIKit, you can follow these steps based on the information from the WWDC session "Meet the Contact Access Button":
-
Authorization Status: First, check the authorization status of your app. The
ContactsAccessButtonis particularly useful when your app has limited or not determined authorization status. -
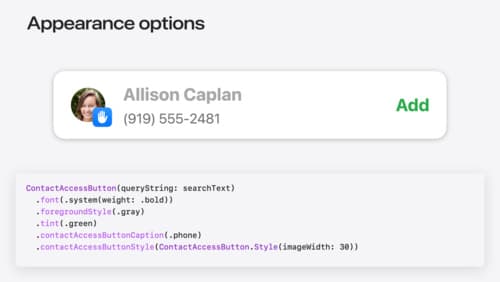
Button Initialization: Initialize the button and pass in any necessary text, such as a search query. The button can be customized using standard SwiftUI modifiers to fit the appearance of your app. For example, you can use the font modifier to control the appearance of the text and the foreground style modifier to change the color of the primary text.
-
Callback Block: Implement a callback block that will receive an array of contact identifier strings when the button is tapped. You can then use these identifiers to retrieve the contact details using
CNContactStore. -
Legibility and Accessibility: Ensure that the button is legible and unobstructed. It should have good contrast between the foreground and background, and enough room to render fully. This is crucial because the button will not grant access to contacts if it is not clearly visible and legible.
-
Testing: Run your app on iOS 18 and test how it works with limited access. Use the
ContactsAccessButtonto manage contacts access directly within your app's UI.
For more detailed guidance, you can refer to the session Meet the Contact Access Button (02:56) which covers the introduction and usage of the ContactsAccessButton.
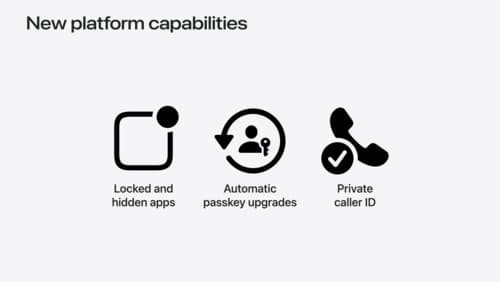
What’s new in privacy
At Apple, we believe privacy is a fundamental human right. Learn about new and improved permission flows and other features that manage data in a privacy-preserving way, so that you can focus on creating great app experiences.
Meet the Contact Access Button
Learn about the new Contacts authorization modes and how to improve Contacts access in your app. Discover how to integrate the Contact Access Button into your app to share additional contacts on demand and provide an easier path to Contacts authorization. We’ll also cover Contacts security features and an alternative API to be used if the button isn’t appropriate for your app.