How can I animate a MeshGradient?
Asked on 2024-07-30
1 search
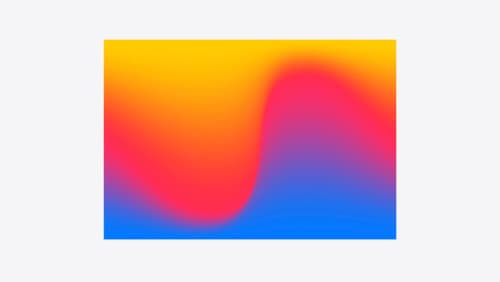
To animate a MeshGradient in SwiftUI, you can manipulate the position of the control points, grid size, and color palette. By adjusting these parameters, you can create dynamic visual effects. Here are the steps to animate a MeshGradient:
-
Define the MeshGradient: Create a mesh gradient by defining the rows and columns of your grid using the width and height parameters. For example, you can use a 3x3 grid.
-
Set Control Points: Define the x and y coordinates for each point in the grid. These coordinates are represented as
simd2<Float>values, ranging from 0 to 1 on the x and y axes. -
Assign Colors: Assign a color to each control point. SwiftUI will interpolate between these colors to create a smooth gradient.
-
Animate Control Points: To animate the MeshGradient, you can move the x and y coordinates of the control points. This will cause the colors to shift and create an animated effect.
Here is a relevant segment from the session Create custom visual effects with SwiftUI:
"If I move the x and y coordinates of the center point, the colors move to match the new position. Mesh gradients are a nice way to add color effects to your app, and you can use them to create all sorts of visual effects. They can be purely decorative, but you could also use them to match a surface with imagery or even signal that something has changed through a mesh gradient animation."
For more detailed information, you can refer to the chapter on Color treatments in the session "Create custom visual effects with SwiftUI".

Create custom visual effects with SwiftUI
Discover how to create stunning visual effects in SwiftUI. Learn to build unique scroll effects, rich color treatments, and custom transitions. We’ll also explore advanced graphic effects using Metal shaders and custom text rendering.

Build a spatial drawing app with RealityKit
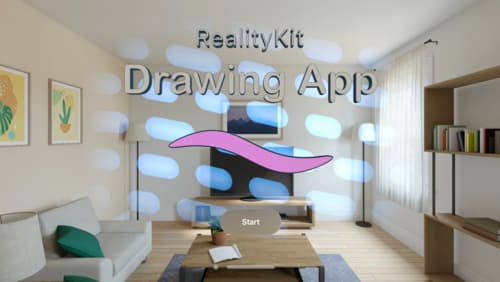
Harness the power of RealityKit through the process of building a spatial drawing app. As you create an eye-catching spatial experience that integrates RealityKit with ARKit and SwiftUI, you’ll explore how resources work in RealityKit and how to use features like low-level mesh and texture APIs to achieve fast updates of the users’ brush strokes.
