how to import swift class in objective-c class?
Asked on 2024-09-19
1 search

To import a Swift class into an Objective-C class, you need to use a bridging header. Here’s a step-by-step guide:
-
Create a Bridging Header: If your project doesn't already have a bridging header, Xcode will prompt you to create one when you add a Swift file to an Objective-C project. If it doesn't, you can manually create a header file and name it something like
ProjectName-Bridging-Header.h. -
Import Swift Code: In your bridging header file, import the Swift module using the
@importdirective. For example, if your Swift class is part of a module namedMySwiftModule, you would add:@import MySwiftModule; -
Access Swift Classes: Once the bridging header is set up, you can use your Swift classes in Objective-C files as if they were Objective-C classes. Make sure your Swift classes are marked with
@objcor inherit fromNSObjectif you need to expose them to Objective-C. -
Build Settings: Ensure that your project's build settings are configured to use the bridging header. In the "Build Settings" tab, search for "Objective-C Bridging Header" and set the path to your bridging header file.
For more detailed information on interoperability between Swift and Objective-C, you might find the session Demystify explicitly built modules helpful, as it discusses how modules and imports work in both languages.
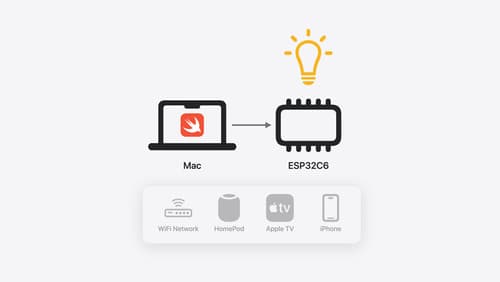
Go small with Embedded Swift
Embedded Swift brings the safety and expressivity of Swift to constrained environments. Explore how Embedded Swift runs on a variety of microcontrollers through a demonstration using an off-the-shelf Matter device. Learn how the Embedded Swift subset packs the benefits of Swift into a tiny footprint with no runtime, and discover plenty of resources to start your own Embedded Swift adventure.
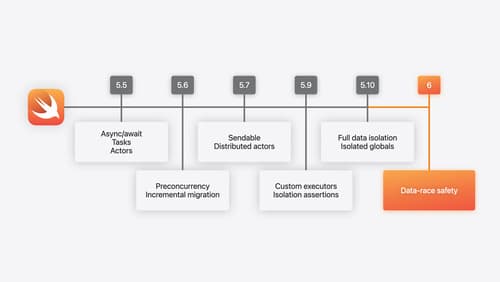
What’s new in Swift
Join us for an update on Swift. We’ll briefly go through a history of Swift over the past decade, and show you how the community has grown through workgroups, expanded the package ecosystem, and increased platform support. We’ll introduce you to a new language mode that achieves data-race safety by default, and a language subset that lets you run Swift on highly constrained systems. We’ll also explore some language updates including noncopyable types, typed throws, and improved C++ interoperability.
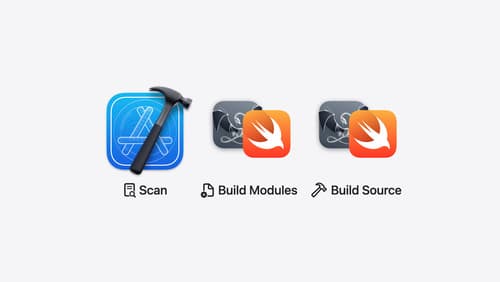
Demystify explicitly built modules
Explore how builds are changing in Xcode 16 with explicitly built modules. Discover how modules are used to build your code, how explicitly built modules improve transparency in compilation tasks, and how you can optimize your build by sharing modules across targets.