how do we create a hover effect on vision os?
Asked on 2024-09-25
1 search

To create a hover effect in visionOS, you can use the new custom hover effect API introduced in visionOS. This API allows SwiftUI views to respond when users look at them, providing feedback about which element will be triggered when users interact with it. Here's a brief overview of how to implement hover effects:
-
Standard Hover Effects: These are automatically added to standard controls and can be added to custom controls using the
hoverEffectview modifier. For more about standard effects like highlight, you can refer to the session "Elevate your windowed app for spatial computing." -
Custom Hover Effects: Some views benefit from custom effects. For example, sliders can show a knob to invite interaction, buttons can grow to show the name of the previous page, and tab bars can pop open to show labels. With the custom hover effect API, you can build effects like these and apply them to SwiftUI views anywhere in your app, including ornaments and reality view attachments.
-
Privacy Considerations: Custom hover effects are designed to preserve privacy. They are applied by the system outside the app process without requiring extra entitlements or extensions.
-
RealityKit Integration: RealityKit also has a new API to apply hover effects to 3D content. You can use shader-backed hover effects for more flexibility, allowing you to control exactly how your entities look on hover.
For more detailed guidance, you can watch the session Create custom hover effects in visionOS.
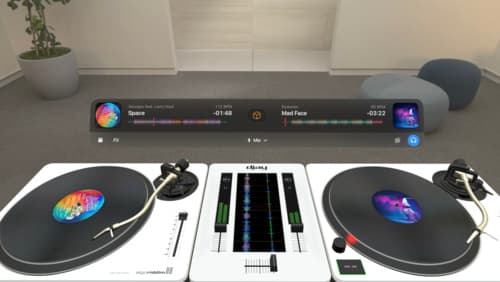
Design great visionOS apps
Find out how to create compelling spatial computing apps by embracing immersion, designing for eyes and hands, and taking advantage of depth, scale, and space. We’ll share several examples of great visionOS apps and explore how their designers approached creating new experiences for the platform.
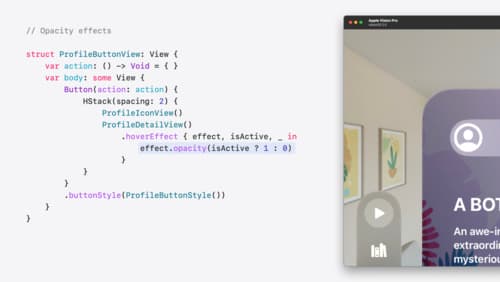
Create custom hover effects in visionOS
Learn how to develop custom hover effects that update views when people look at them. Find out how to build an expanding button effect that combines opacity, scale, and clip effects. Discover best practices for creating effects that are comfortable and respect people’s accessibility needs.
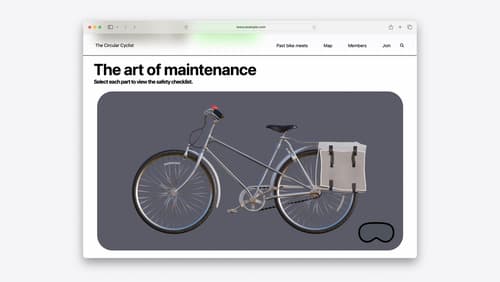
Optimize for the spatial web
Discover how to make the most of visionOS capabilities on the web. Explore recent updates like improvements to selection highlighting, and the ability to present spatial photos and panorama images in fullscreen. Learn to take advantage of existing web standards for dictation and text-to-speech with WebSpeech, spatial soundscapes with WebAudio, and immersive experiences with WebXR.