how to implement sign in with apple
Asked on 2024-10-18
1 search

To implement "Sign in with Apple," you can follow these general steps, which are typically covered in Apple's WWDC sessions:
-
Set Up Your App ID: Ensure your app is registered in the Apple Developer portal and has the "Sign in with Apple" capability enabled.
-
Configure Your App: In Xcode, enable "Sign in with Apple" in your app's capabilities. This will add the necessary entitlements to your app.
-
Implement the Sign-In Button: Use the
ASAuthorizationAppleIDButtonto provide a consistent sign-in experience. This button is styled according to Apple's guidelines and handles the authentication flow. -
Handle the Authentication: Implement the
ASAuthorizationControllerDelegateandASAuthorizationControllerPresentationContextProvidingprotocols to manage the sign-in process and handle the results. -
Verify the User: Once you receive the user's information, verify the identity token with your server to ensure the authenticity of the sign-in.
-
Manage User Data: Store the user data securely and handle any updates to the user's information as needed.
For more detailed guidance, you might want to check out sessions like "Streamline sign-in with passkey upgrades and credential managers" from WWDC 2024, which discusses related topics such as passkeys and credential management. You can find more information on passkey upgrades in the session Streamline sign-in with passkey upgrades and credential managers (00:38).
If you have specific questions about implementing "Sign in with Apple," feel free to ask!
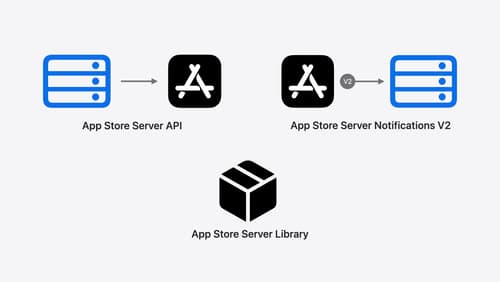
Explore App Store server APIs for In-App Purchase
Learn how to leverage your server to build great In-App Purchase experiences with the latest updates to the App Store Server API, App Store Server Notifications, and the open source App Store Server Library. After a recap of current APIs, we’ll introduce updated endpoint functionality, new transaction fields, and a new notification type. We’ll also discuss best practices for the purchase lifecycle, delivering content, and targeting offers, so you can become a server power user.

Platforms State of the Union
Discover the newest advancements on Apple platforms.

What’s new in Wallet and Apple Pay
Take passes and payments to the next level with new enhancements to Wallet and Apple Pay. Make your event tickets shine with rich pass designs in Wallet, and bring great Apple Pay experiences to even more people with third-party browser support. We’ll also look at how to disburse funds with Apple Pay on the Web and highlight new API changes that help you integrate Apple Pay into even more purchasing flows.