How do I integrate StoreKit in my Flutter app?
Asked on 2024-11-14
1 search
To integrate StoreKit in your Flutter app, you would typically need to use platform channels to communicate between your Flutter code and native iOS code, as StoreKit is an iOS-specific framework. Here are some steps you might consider:
-
Understand StoreKit 2: StoreKit 2 offers many improvements over the original StoreKit API, such as using the Swift Async/Await pattern for tasks like fetching product metadata and purchasing. It also provides automatic cryptographic validation and access to customer transaction history. You can learn more about these features in the What’s new in StoreKit and In-App Purchase session.
-
Set Up StoreKit Configuration: You need to set up a StoreKit configuration file with your product metadata. This is essential for testing in-app purchases using Xcode previews. More details can be found in the What’s new in StoreKit and In-App Purchase session.
-
Testing with Xcode: Utilize StoreKit testing in Xcode to ensure your in-app purchase flows work as expected. This includes testing purchase intents and handling billing issues. You can find more information on testing in the What’s new in StoreKit and In-App Purchase session.
-
Use Platform Channels in Flutter: Implement platform channels to call native iOS code from your Flutter app. This involves writing Swift code to handle StoreKit operations and communicating with your Flutter code.
-
Refer to Documentation: Check the StoreKit documentation on the Apple Developer website for detailed API usage and examples.
By following these steps, you can integrate StoreKit into your Flutter app to handle in-app purchases on iOS.

Implement App Store Offers
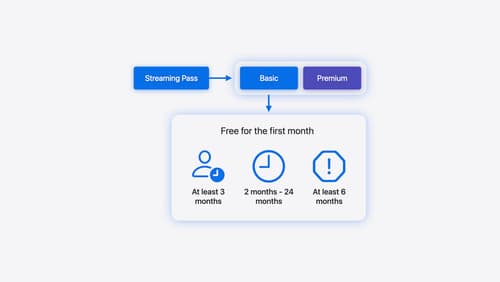
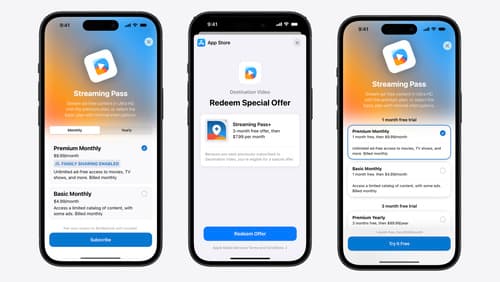
Learn how to engage customers with App Store Offers using App Store Connect, as well as the latest StoreKit features and APIs. Discover how you can set up win-back offers (a new way to re-engage previous subscribers) and generate offer codes for Mac apps. And find out how to test offers in sandbox and Xcode to make sure they work smoothly.

What’s new in StoreKit and In-App Purchase
Learn how to build and deliver even better purchase experiences using the App Store In-App Purchase system. We’ll demo new StoreKit views control styles and new APIs to improve your subscription customization, discuss new fields for transaction-level information, and explore new testability in Xcode. We’ll also review an important StoreKit deprecation.
