how to add storekit
Asked on 2025-03-17
1 search

To add StoreKit to your app, you can follow these steps based on the information from the WWDC sessions:
-
Set Up a StoreKit Configuration File:
- Create a StoreKit configuration file with your product metadata. This is essential for getting the in-app purchase UI working with Xcode previews. For more details, refer to the session What’s new in StoreKit and In-App Purchase.
-
Use StoreKit APIs:
- Utilize the StoreKit APIs to manage in-app purchases. StoreKit 2 provides a suite of tools for handling in-app purchases, including fetching product metadata, purchasing, and retrieving customer transaction history. More information can be found in the session What’s new in StoreKit and In-App Purchase.
-
Test in Xcode:
- Use StoreKit testing in Xcode to test your purchase flows. This includes testing your app's privacy policy and license agreement locally, as well as localizations for your subscription groups. For more details, see the session What’s new in StoreKit and In-App Purchase.
-
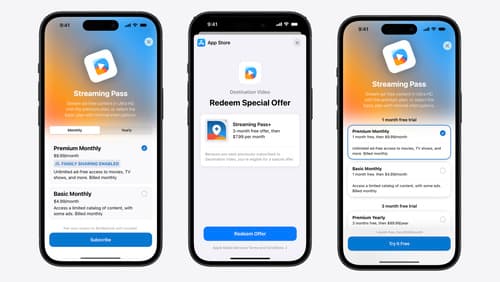
Customize Subscription Store Views:
- If you want to customize the appearance of your subscription store, you can create custom control styles. This involves declaring a type that conforms to the subscription store control style protocol and using the new subscription Picker API. More information is available in the session What’s new in StoreKit and In-App Purchase.
These steps should help you integrate StoreKit into your app effectively. For more detailed guidance, you can refer to the specific sessions mentioned above.
What’s new in StoreKit and In-App Purchase
Learn how to build and deliver even better purchase experiences using the App Store In-App Purchase system. We’ll demo new StoreKit views control styles and new APIs to improve your subscription customization, discuss new fields for transaction-level information, and explore new testability in Xcode. We’ll also review an important StoreKit deprecation.
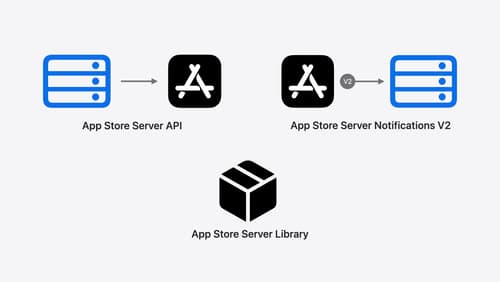
Explore App Store server APIs for In-App Purchase
Learn how to leverage your server to build great In-App Purchase experiences with the latest updates to the App Store Server API, App Store Server Notifications, and the open source App Store Server Library. After a recap of current APIs, we’ll introduce updated endpoint functionality, new transaction fields, and a new notification type. We’ll also discuss best practices for the purchase lifecycle, delivering content, and targeting offers, so you can become a server power user.
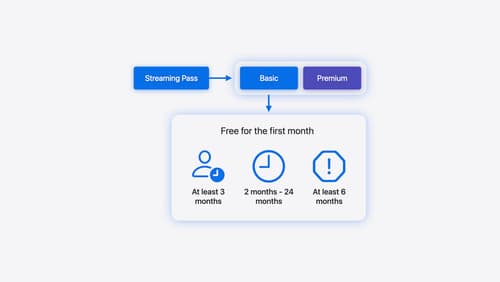
Implement App Store Offers
Learn how to engage customers with App Store Offers using App Store Connect, as well as the latest StoreKit features and APIs. Discover how you can set up win-back offers (a new way to re-engage previous subscribers) and generate offer codes for Mac apps. And find out how to test offers in sandbox and Xcode to make sure they work smoothly.