How can I add sceneDelegate to an existing project?
Asked on 2025-03-24
1 search

To add a sceneDelegate to an existing project, you would typically follow these steps:
-
Open your project in Xcode: Make sure you have your project open in Xcode.
-
Add a SceneDelegate file: If your project doesn't already have a
SceneDelegate.swiftfile, you can add one by creating a new Swift file and naming itSceneDelegate.swift. -
Implement the SceneDelegate class: In the
SceneDelegate.swiftfile, implement theSceneDelegateclass. This class should conform to theUIWindowSceneDelegateprotocol. Here is a basic template:import UIKit class SceneDelegate: UIResponder, UIWindowSceneDelegate { var window: UIWindow? func scene(_ scene: UIScene, willConnectTo session: UISceneSession, options connectionOptions: UIScene.ConnectionOptions) { guard let windowScene = (scene as? UIWindowScene) else { return } window = UIWindow(windowScene: windowScene) window?.rootViewController = YourRootViewController() // Replace with your root view controller window?.makeKeyAndVisible() } // Implement other UIWindowSceneDelegate methods as needed } -
Update Info.plist: Ensure that your
Info.plistfile is configured to use theSceneDelegate. You should have an entry forApplication Scene Manifestwith a sub-entry forScene Configuration. UnderScene Configuration, there should be aDefault Configurationwith aDelegate Class Nameset to$(PRODUCT_MODULE_NAME).SceneDelegate. -
Remove AppDelegate window code: If your
AppDelegateis setting up the window, you should remove that code since theSceneDelegatewill now handle it.
This process is generally applicable to projects targeting iOS 13 and later, where the scene-based lifecycle is used. If you need more detailed guidance, you might want to refer to the session on Evolve your document launch experience (03:13) which discusses getting started with UIKit, including scene management.
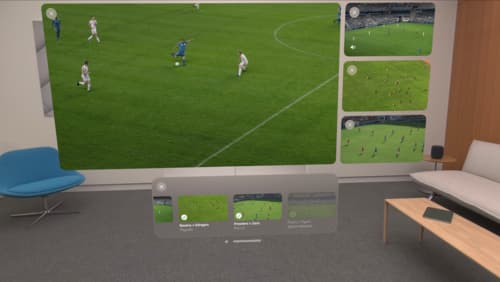
Explore multiview video playback in visionOS
Learn how AVExperienceController can enable playback of multiple videos on Apple Vision Pro. Review best practices for adoption and explore great use cases, like viewing a sports broadcast from different angles or watching multiple games simultaneously. And discover how to design a compelling and intuitive multiview experience in your app.
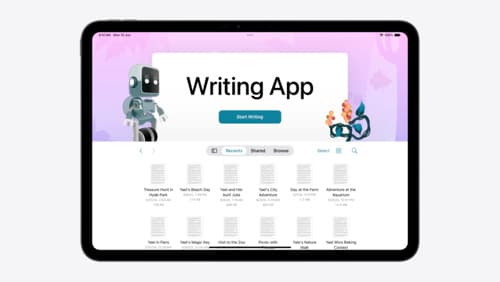
Evolve your document launch experience
Make your document-based app stand out, and bring its unique identity into focus with the new document launch experience. Learn how to leverage the new API to customize the first screen people see when they launch your app. Utilize the new system-provided design, and amend it with custom actions, delightful decorative views, and impressive animations.
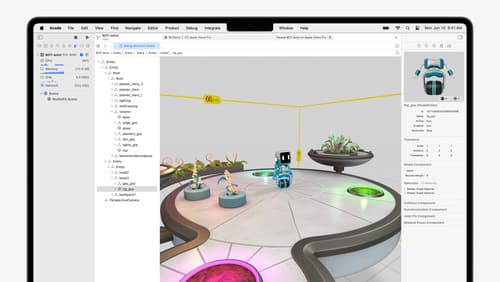
Break into the RealityKit debugger
Meet the RealityKit debugger and discover how this new tool lets you inspect the entity hierarchy of spatial apps, debug rogue transformations, find missing entities, and detect which parts of your code are causing problems for your systems.