How can I build a swiftUI photo picker
Asked on 2025-04-25
1 search

To build a SwiftUI photo picker, you can leverage the existing SwiftUI capabilities to create a user-friendly interface for selecting photos. While the specific details of implementing a photo picker in SwiftUI were not directly covered in the provided context, you can follow these general steps to create a photo picker in SwiftUI:
-
Use
PHPickerViewController: SwiftUI does not have a built-in photo picker, but you can usePHPickerViewControllerfrom the PhotosUI framework to present a photo picker. You can integrate this with SwiftUI usingUIViewControllerRepresentable. -
Create a
UIViewControllerRepresentable: This protocol allows you to wrap a UIKit view controller, such asPHPickerViewController, for use in SwiftUI. -
Handle the Selection: Implement the delegate methods to handle the user's selection and pass the selected images back to your SwiftUI view.
-
Display the Picker: Use a SwiftUI view, such as a button, to present the photo picker when tapped.
Here's a basic example of how you might set this up:
import SwiftUI
import PhotosUI

struct PhotoPicker: UIViewControllerRepresentable {
    @Binding var selectedImage: UIImage?

    func makeUIViewController(context: Context) -> PHPickerViewController {
        var configuration = PHPickerConfiguration()
        configuration.filter = .images
        configuration.selectionLimit = 1

        let picker = PHPickerViewController(configuration: configuration)
        picker.delegate = context.coordinator
        return picker
    }

    func updateUIViewController(_ uiViewController: PHPickerViewController, context: Context) {}

    func makeCoordinator() -> Coordinator {
        Coordinator(self)
    }

    class Coordinator: NSObject, PHPickerViewControllerDelegate {
        var parent: PhotoPicker

        init(_ parent: PhotoPicker) {
            self.parent = parent
        }

        func picker(_ picker: PHPickerViewController, didFinishPicking results: [PHPickerResult]) {
            picker.dismiss(animated: true)

            guard let provider = results.first?.itemProvider, provider.canLoadObject(ofClass: UIImage.self) else { return }

            provider.loadObject(ofClass: UIImage.self) { [weak self] image, _ in
                self?.parent.selectedImage = image as? UIImage
            }
        }
    }
}

struct ContentView: View {
    @State private var selectedImage: UIImage?

    var body: some View {
        VStack {
            if let image = selectedImage {
                Image(uiImage: image)
                    .resizable()
                    .scaledToFit()
            } else {
                Text("Select an image")
            }

            Button("Pick a Photo") {
                // Present the photo picker
            }
            .sheet(isPresented: .constant(selectedImage == nil)) {
                PhotoPicker(selectedImage: $selectedImage)
            }
        }
    }
}
This example demonstrates how to create a simple photo picker using SwiftUI and PHPickerViewController. You can customize the picker configuration and handle the selected image as needed for your app.

Platforms State of the Union
Discover the newest advancements on Apple platforms.

What’s new in privacy
At Apple, we believe privacy is a fundamental human right. Learn about new and improved permission flows and other features that manage data in a privacy-preserving way, so that you can focus on creating great app experiences.
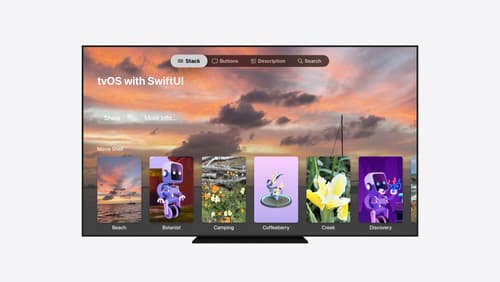
Migrate your TVML app to SwiftUI
SwiftUI helps you build great apps on all Apple platforms and is the preferred toolkit for bringing your content into the living room with tvOS 18. Learn how to use SwiftUI to create familiar layouts and controls from TVMLKit, and get tips and best practices.