how to add existing local package to Xcode workspace
Asked on 2024-07-30
1 search

To add an existing local package to an Xcode workspace, you can follow these steps:
-
Open your Xcode workspace: Make sure you have your Xcode workspace open where you want to add the local package.
-
Add the package to the workspace:
- Drag and Drop: You can simply drag the folder containing your local package into the Xcode workspace navigator.
- File Menu: Alternatively, you can go to
File>Add Files to [Your Workspace]...and select the folder containing your local package.
-
Configure the package:
- Once the package is added, Xcode should recognize it as a Swift package. You may need to configure the package dependencies if it has any.
- Ensure that the package is correctly referenced in your project settings. You can do this by selecting your project in the navigator, then going to the
Swift Packagestab and verifying that your local package is listed there.
-
Link the package to your targets:
- Select your project in the navigator.
- Go to the
Generaltab of your target. - In the
Frameworks, Libraries, and Embedded Contentsection, click the+button and add your local package.
For more detailed guidance on working with packages in Xcode, you might find the session Xcode essentials helpful, which covers various aspects of working efficiently in Xcode, including managing dependencies and packages.
If you need more specific information on Swift packages, the session A Swift Tour: Explore Swift’s features and design discusses how to organize code into packages and manage dependencies.
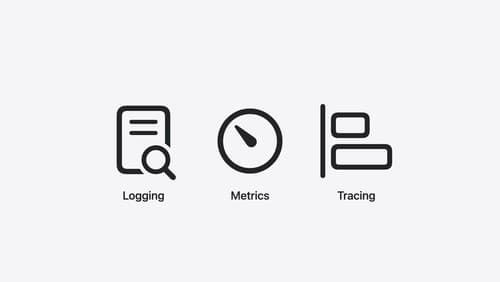
Explore the Swift on Server ecosystem
Swift is a great language for writing your server applications, and powers critical services across Apple’s cloud products. We’ll explore tooling, delve into the Swift server package ecosystem, and demonstrate how to interact with databases and add observability to applications.
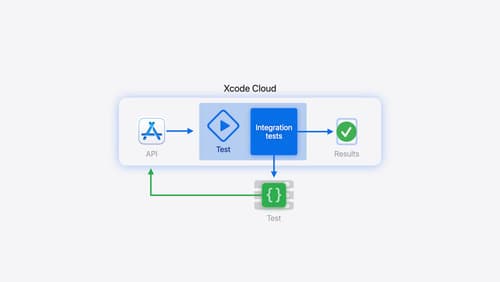
Extend your Xcode Cloud workflows
Discover how Xcode Cloud can adapt to your development needs. We’ll show you how to streamline your workflows, automate testing and distribution with start conditions, custom aliases, custom scripts, webhooks, and the App Store Connect API.
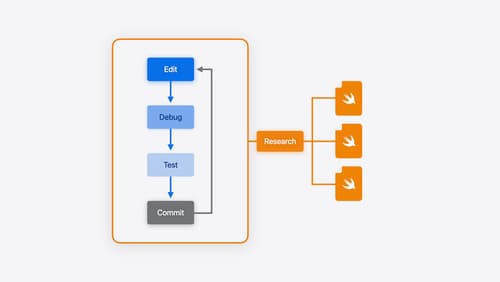
Xcode essentials
Edit, debug, commit, repeat. Explore the suite of tools in Xcode that help you iterate quickly when developing apps. Discover tips and tricks to help optimize and boost your development workflow.