How can I add a button in my iOS app that generates a countdown timer?
Asked on 2024-07-30
1 search

To add a button in your iOS app that generates a countdown timer, you can leverage the new controls introduced in iOS 18, which are built using WidgetKit. Here's a step-by-step guide based on the session "Extend your app’s controls across the system" from WWDC 2024:
-
Create a Control Widget:
- Start by defining a control widget in your widget extension. This control will be a button that starts and stops the countdown timer.
- Use the
ControlWidgetprotocol to define your control. Provide the necessary information such as the title, symbol, and action to perform.
-
Define the Timer Toggle Control:
- Create a type conforming to
ControlWidgetand define the control's configuration. - Provide a unique identifier, title, and state for the control.
- Define the action to perform when the control is interacted with, such as starting or stopping the timer.
- Create a type conforming to
-
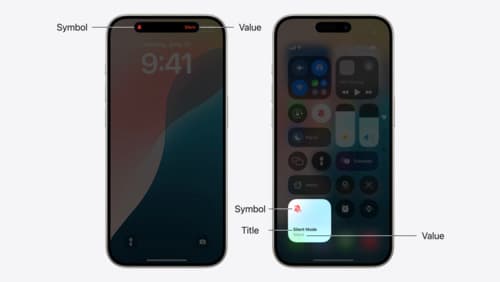
Customize the Control's Appearance:
- Use the
isOnargument to display different symbols when the timer is running or stopped. - Customize the value text to reflect the timer's state (e.g., "Running" or "Stopped").
- Use the
-
Make the Control Configurable:
- If you want to have multiple timers (e.g., for work and personal use), make the control user-configurable.
- Use the
AppIntentControlValueProviderprotocol to allow users to select which timer the control should interact with.
-
Sync Across Devices:
- Use the push notification API to handle state changes from different devices, ensuring the timer's state is consistent across all devices.
Here is a simplified example of how you might define such a control in Swift:
import WidgetKit
import SwiftUI

struct TimerControl: ControlWidget {
    var body: some View {
        ControlConfiguration {
            ControlContent {
                Label("Start Timer", systemImage: "timer")
            }
            .onTap {
                // Action to start the timer
                startTimer()
            }
        }
    }

    func startTimer() {
        // Implement your timer logic here
    }
}
For more detailed steps and code examples, you can refer to the session Extend your app’s controls across the system (03:11).
Relevant Sessions
These sessions provide comprehensive guidance on building and customizing controls, including buttons and toggles, for your iOS app.
Extend your app’s controls across the system
Bring your app’s controls to Control Center, the Lock Screen, and beyond. Learn how you can use WidgetKit to extend your app’s controls to the system experience. We’ll cover how you can to build a control, tailor its appearance, and make it configurable.
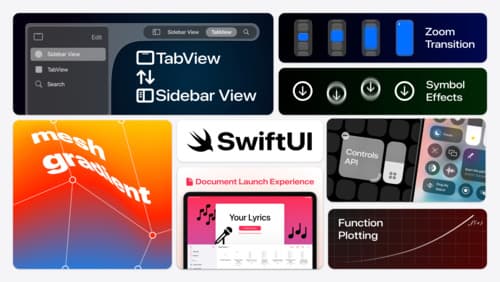
What’s new in SwiftUI
Learn how you can use SwiftUI to build great apps for any Apple platform. Explore a fresh new look and feel for tabs and documents on iPadOS. Improve your window management with new windowing APIs, and gain more control over immersive spaces and volumes in your visionOS apps. We’ll also take you through other exciting refinements that help you make expressive charts, customize and layout text, and so much more.