Give a step by step guide to adopt Liquid glass for UIKit project
Asked on 2025-06-23
1 search

To adopt Liquid Glass for a UIKit project, follow these steps based on the guidance from the WWDC session "Build a UIKit app with the new design":
-
Recompile with Xcode 26: Start by building your app with Xcode 26. This will automatically apply much of the new design, including Liquid Glass, to your app's standard UIKit components.
-
Audit Your App: Go through your app screen by screen to identify which views stand out and may need adjustments to fit the new design.
-
Evaluate Custom Controls: If you have custom controls, consider whether standard UIKit controls might be a better fit with the new design. This can help ensure consistency and take full advantage of Liquid Glass.
-
Use System Views and Controls: Where possible, use system views and controls to achieve the best experience with Liquid Glass. This includes using updated components like Tab Views and Split Views that now float above the content.
-
Implement Liquid Glass in Custom Elements: For custom UI elements, create a
UIVisualEffectViewand configure it with the new Liquid Glass effect. You can customize the shape using the new corner properties. -
Manage Glass Interactions: Ensure that Liquid Glass elements do not overlap each other to maintain the illusion of a single floating layer. Use the
UIGlassContainerEffectto manage spacing and interactions between glass elements. -
Refine and Test: After implementing these changes, test your app thoroughly to ensure that the new design integrates well with your app's functionality and aesthetics.
For more detailed guidance, you can refer to the session Build a UIKit app with the new design (25:03) which covers the next steps after adopting the new design system.
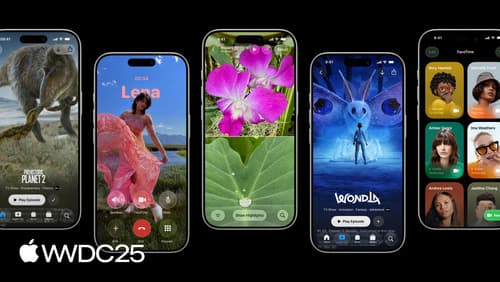
Build a UIKit app with the new design
Update your UIKit app to take full advantage of the new design system. We’ll dive into key changes to tab views, split views, bars, presentations, search, and controls, and show you how to use Liquid Glass in your custom UI. To get the most out of this video, we recommend first watching “Get to know the new design system” for general design guidance.
Build an AppKit app with the new design
Update your AppKit app to take full advantage of the new design system. We’ll dive into key changes to tab views, split views, bars, presentations, search, and controls, and show you how to use Liquid Glass in your custom UI. To get the most out of this video, we recommend first watching “Get to know the new design system” for general design guidance.

Build a SwiftUI app with the new design
Explore the ways Liquid Glass transforms the look and feel of your app. Discover how this stunning new material enhances toolbars, controls, and app structures across platforms, providing delightful interactions and seamlessly integrating your app with the system. Learn how to adopt new APIs that can help you make the most of Liquid Glass.