how can i adopt liquid glass
Asked on 2025-06-15
2 searches

To adopt Liquid Glass in your app, you can follow these guidelines based on the sessions from WWDC:
-
Frameworks and Tools: Liquid Glass is supported across all major Apple UI frameworks, including SwiftUI, UIKit, and AppKit. You should build your app with Xcode 26 to take advantage of the new design and materials automatically applied to standard controls.
-
Design Intent: Liquid Glass is designed to be an interactive layer that floats above your content. It should be used for the most important elements in your app, such as main controls and navigation elements. Avoid using it excessively or stacking it on top of other glass elements to prevent a cluttered interface.
-
Implementation:
- SwiftUI: Use the
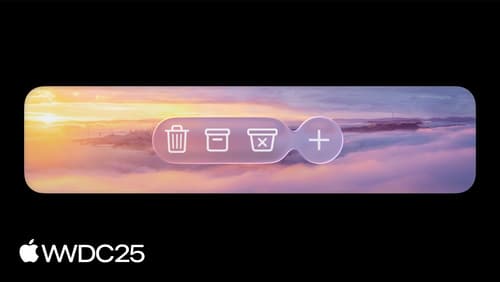
Glass Effect IDmodifier to apply Liquid Glass to your elements. You can configure transitions and interactions by associating a local namespace with your glass effect elements. - UIKit: Create a
UIVisualEffectViewand apply aUI Glass Effectwithin an animation block. Customize the shape using corner properties and ensure interactive elements are set to be interactive. - AppKit: Use
NSGlassEffectViewto apply Liquid Glass. Set the content view to your desired view and use auto layout to maintain geometry.
- SwiftUI: Use the
-
Design Principles: Liquid Glass should be used to enhance the visual hierarchy and maintain clarity. Avoid using it on elements that are not part of the navigation layer or that could compete with other UI elements.
-
Variants: There are two variants of Liquid Glass—regular and clear. Regular is versatile and adaptive, while clear is more transparent and does not have adaptive behaviors. Choose the variant that best suits your design needs.
For more detailed guidance, you can refer to the session Meet Liquid Glass (10:31) which covers principles and adaptivity of Liquid Glass.

Build a SwiftUI app with the new design
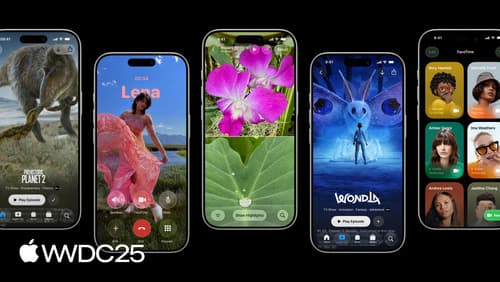
Explore the ways Liquid Glass transforms the look and feel of your app. Discover how this stunning new material enhances toolbars, controls, and app structures across platforms, providing delightful interactions and seamlessly integrating your app with the system. Learn how to adopt new APIs that can help you make the most of Liquid Glass.
Build an AppKit app with the new design
Update your AppKit app to take full advantage of the new design system. We’ll dive into key changes to tab views, split views, bars, presentations, search, and controls, and show you how to use Liquid Glass in your custom UI. To get the most out of this video, we recommend first watching “Get to know the new design system” for general design guidance.
Build a UIKit app with the new design
Update your UIKit app to take full advantage of the new design system. We’ll dive into key changes to tab views, split views, bars, presentations, search, and controls, and show you how to use Liquid Glass in your custom UI. To get the most out of this video, we recommend first watching “Get to know the new design system” for general design guidance.