How do I migrate my UI without SwiftUI to liquid glass?
Asked on 2025-06-16
2 searches

To migrate your UI to use Liquid Glass without SwiftUI, you can follow the guidance provided for both AppKit and UIKit, as these frameworks support the new design system.
For AppKit:
- Use NSGlassEffectView: Create an
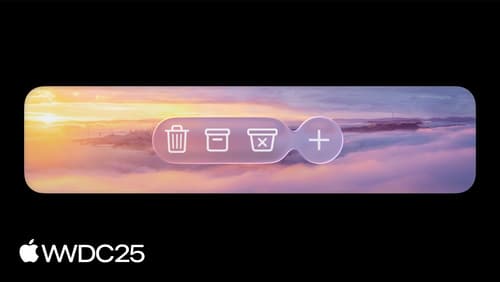
NSGlassEffectViewfor each element you want to display with the Liquid Glass effect. Set thecontentViewproperty to your desired view. This ties the geometry to the content view using auto layout, ensuring they stay in sync. - Integrate into View Hierarchy: Place the glass effect views into your view hierarchy. You can update existing stack views to include these new glass effect views.
- Group Glass Elements: If you have multiple glass shapes in close proximity, group them using
NSGlassEffectContainerViewto maintain a cohesive appearance.
For more detailed guidance, you can refer to the session Build an AppKit app with the new design (17:30).
For UIKit:
- Use UIVisualEffectView: Create a
UIVisualEffectViewand configure it with the Liquid Glass effect. Add your glass views as subviews to your container's content view. - Control Interaction: Use the
UIGlassContainerEffectto manage how glass views interact, such as merging when they come close together. - Adopt System Views: Where possible, use system views and controls to ensure the best experience with Liquid Glass.
For more detailed guidance, you can refer to the session Build a UIKit app with the new design (17:24).
By following these steps, you can effectively migrate your UI to incorporate Liquid Glass, enhancing the visual depth and expressiveness of your app.
Build an AppKit app with the new design
Update your AppKit app to take full advantage of the new design system. We’ll dive into key changes to tab views, split views, bars, presentations, search, and controls, and show you how to use Liquid Glass in your custom UI. To get the most out of this video, we recommend first watching “Get to know the new design system” for general design guidance.
Build a UIKit app with the new design
Update your UIKit app to take full advantage of the new design system. We’ll dive into key changes to tab views, split views, bars, presentations, search, and controls, and show you how to use Liquid Glass in your custom UI. To get the most out of this video, we recommend first watching “Get to know the new design system” for general design guidance.

Platforms State of the Union
Discover the newest advancements on Apple platforms.