How should I apply liquid glass in my app?
Asked on 2025-06-11
1 search

To apply Liquid Glass in your app, you should consider the following guidelines from the WWDC sessions:
-
Hierarchy and Placement: Liquid Glass is designed to be an interactive layer that floats above your content, providing the main controls that the user interacts with. It's best reserved for the navigation layer and should not be used everywhere to avoid cluttering the interface. Avoid stacking Liquid Glass elements on top of each other to maintain clarity and focus within the UI hierarchy. (Meet Liquid Glass)
-
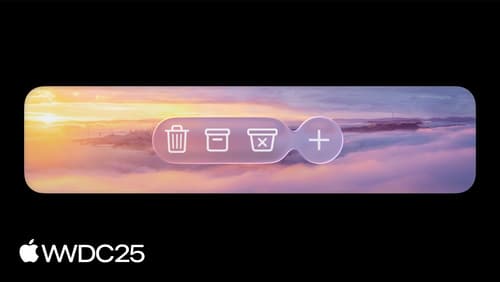
Using System Views and Controls: Where possible, use system views and controls to ensure the best experience. For custom views, you can create a UI Visual Effect view and apply a new UI glass effect in an animation block. By default, the glass is in a capsule shape, but you can customize the shape using the new corner properties. (Build a UIKit app with the new design)
-
Customization and Effects: In SwiftUI, you can use the Glass Effect ID modifier to add transitions to your glass container. This allows for fluid morphing effects, which can highlight the unique functionality of your app. (Build a SwiftUI app with the new design)
-
Avoiding Visual Noise: Avoid tinting all elements, as this can make the interface confusing. Instead, use tinting selectively to highlight primary actions. Ensure that there is a clear separation between content and Liquid Glass to avoid unwanted visual noise. (Meet Liquid Glass)
-
Adapting to Different Platforms: Liquid Glass is designed to adapt automatically across different contexts and platforms, maintaining visual clarity and separation from the content layer. It is composed of multiple layers that adapt based on the content behind it. (Meet Liquid Glass)
By following these guidelines, you can effectively integrate Liquid Glass into your app, enhancing its design and user experience.
Build a UIKit app with the new design
Update your UIKit app to take full advantage of the new design system. We’ll dive into key changes to tab views, split views, bars, presentations, search, and controls, and show you how to use Liquid Glass in your custom UI. To get the most out of this video, we recommend first watching “Get to know the new design system” for general design guidance.

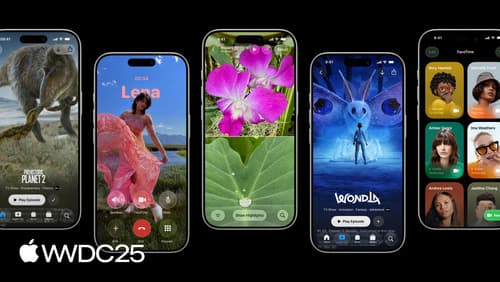
Meet Liquid Glass
Liquid Glass unifies Apple platform design language while providing a more dynamic and expressive user experience. Get to know the design principles of Liquid Glass, explore its core optical and physical properties, and learn where to use it and why.
Build an AppKit app with the new design
Update your AppKit app to take full advantage of the new design system. We’ll dive into key changes to tab views, split views, bars, presentations, search, and controls, and show you how to use Liquid Glass in your custom UI. To get the most out of this video, we recommend first watching “Get to know the new design system” for general design guidance.