how to adopt liquid glasasss
Asked on 2025-10-26
1 search
To adopt Liquid Glass in your app, you can follow these general steps based on the sessions from WWDC:
-
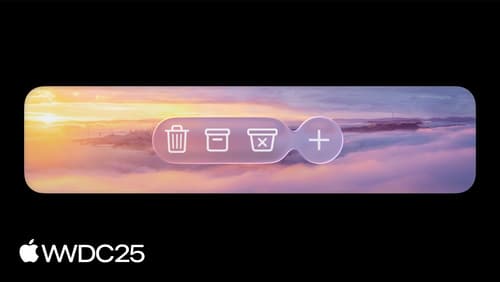
Understand the Design Intent: Liquid Glass is designed to be an interactive layer that floats above your content, providing a distinct control layer. It's important to limit its use to the most important elements in your app to maintain clarity and focus within the UI hierarchy.
-
Use Appropriate APIs:
- For AppKit apps, use the
NSGlassEffectViewAPI. Create anNSGlassEffectViewfor each glass element you want to display and set its content view property to the desired view. This ties the geometry to the content view using auto layout, ensuring they stay in sync. Build an AppKit app with the new design - For UIKit apps, use the
UIVisualEffectViewwith a new UI glass effect. Customize the shape using the new corner properties and ensure the glass appears using a special materialized animation. Build a UIKit app with the new design - For SwiftUI apps, use the Glass Effect ID modifier to add transitions to your glass container. Declare a local namespace and associate it with each glass effect element. Build a SwiftUI app with the new design
- For AppKit apps, use the
-
Design Considerations:
- Avoid using Liquid Glass everywhere; reserve it for the navigation layer that floats above the content.
- Avoid stacking Liquid Glass elements on top of each other to prevent a cluttered interface.
- Use the regular variant of Liquid Glass for most cases, as it provides adaptive effects and maintains legibility.
-
Build and Test: Start by building your app with Xcode 26 to see how much of the new design works immediately. Audit your app to identify key elements to elevate with Liquid Glass and ensure your app's content flows seamlessly.
By following these guidelines, you can effectively integrate Liquid Glass into your app, enhancing its visual appeal and user interaction.

Build an AppKit app with the new design
Update your AppKit app to take full advantage of the new design system. We’ll dive into key changes to tab views, split views, bars, presentations, search, and controls, and show you how to use Liquid Glass in your custom UI. To get the most out of this video, we recommend first watching “Get to know the new design system” for general design guidance.

Build a SwiftUI app with the new design
Explore the ways Liquid Glass transforms the look and feel of your app. Discover how this stunning new material enhances toolbars, controls, and app structures across platforms, providing delightful interactions and seamlessly integrating your app with the system. Learn how to adopt new APIs that can help you make the most of Liquid Glass.

Build a UIKit app with the new design
Update your UIKit app to take full advantage of the new design system. We’ll dive into key changes to tab views, split views, bars, presentations, search, and controls, and show you how to use Liquid Glass in your custom UI. To get the most out of this video, we recommend first watching “Get to know the new design system” for general design guidance.
