How to make an Liquid Glass TabBar
Asked on 2025-06-14
1 search
To create a Liquid Glass TabBar, you can follow the guidance provided in the WWDC sessions on adopting the new design system with Liquid Glass. Here are some key points to consider:
-
Adopt the New Design System: Start by building your app with the latest Xcode version that supports the new design system. This will automatically apply the Liquid Glass appearance to standard components like Tab Views and Split Views.
-
Use UIKit or SwiftUI: Depending on your app's framework, you can use either UIKit or SwiftUI to implement Liquid Glass. For UIKit, you can use the
UIVisualEffectViewto create a Liquid Glass effect. For SwiftUI, you can use theglossEffectmodifier to apply the Liquid Glass effect to your custom views. -
Design Intent: Liquid Glass is designed to be an interactive layer that floats above your content. It should be used for the most important elements of your app, such as navigation controls. Avoid using Liquid Glass for elements that could clutter the interface or compete with other elements.
-
Customization: You can customize the appearance of Liquid Glass by using properties like corner radius and tint color. However, it's important to maintain the design intent and ensure that the Liquid Glass elements do not overlap or create a cluttered interface.
For more detailed guidance, you can refer to the session Build a UIKit app with the new design (19:15) which covers how to adopt the Liquid Glass look and feel in your custom UI elements.

Keynote
Don’t miss the exciting reveal of the latest Apple software and technologies.

Meet Liquid Glass
Liquid Glass unifies Apple platform design language while providing a more dynamic and expressive user experience. Get to know the design principles of Liquid Glass, explore its core optical and physical properties, and learn where to use it and why.

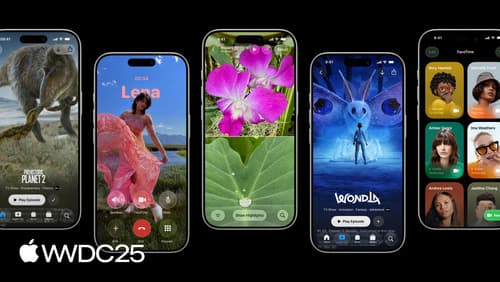
Build a UIKit app with the new design
Update your UIKit app to take full advantage of the new design system. We’ll dive into key changes to tab views, split views, bars, presentations, search, and controls, and show you how to use Liquid Glass in your custom UI. To get the most out of this video, we recommend first watching “Get to know the new design system” for general design guidance.
