how to use Environment in SwiftUI
Asked on 2025-06-18
1 search

In SwiftUI, the Environment is a powerful feature that allows you to pass data down the view hierarchy without having to pass it explicitly through each view. This is particularly useful for global settings or data that many views need access to, such as color schemes, locale settings, or custom data.
To use the Environment in SwiftUI, you typically use the @Environment property wrapper to access environment values within a view. Here's a basic example:
import SwiftUI

struct ContentView: View {
    @Environment(\.colorScheme) var colorScheme

    var body: some View {
        Text("Hello, World!")
            .foregroundColor(colorScheme == .dark ? .white : .black)
    }
}
In this example, the @Environment property wrapper is used to access the current colorScheme of the app, which can be either .light or .dark. The text color is then set based on the current color scheme.
For more advanced usage, you can define your own environment keys and values. This involves creating a custom key by conforming to the EnvironmentKey protocol and then extending the EnvironmentValues to include your custom key.
If you're interested in learning more about how environment updates work in SwiftUI, you might find the session Optimize SwiftUI performance with Instruments (19:54) helpful. This session discusses how environment updates are handled and how they affect view updates in SwiftUI.
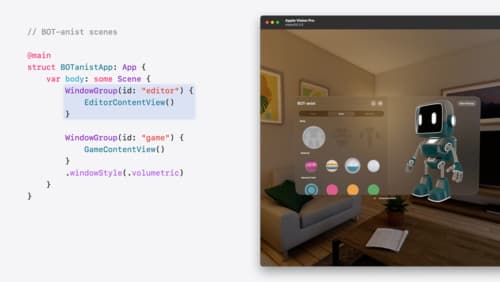
Work with windows in SwiftUI
Learn how to create great single and multi-window apps in visionOS, macOS, and iPadOS. Discover tools that let you programmatically open and close windows, adjust position and size, and even replace one window with another. We’ll also explore design principles for windows that help people use your app within their workflows.
Optimize SwiftUI performance with Instruments
Discover the new SwiftUI instrument. We’ll cover how SwiftUI updates views, how changes in your app’s data affect those updates, and how the new instrument helps you visualize those causes and effects. To get the most out of this session, we recommend being familiar with writing apps in SwiftUI.
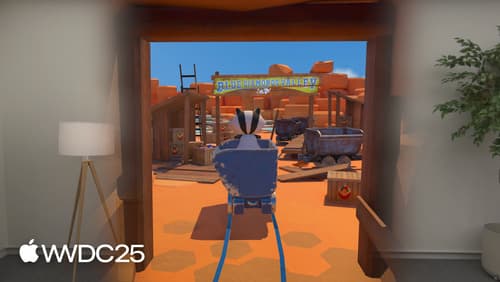
What’s new in Metal rendering for immersive apps
Discover the latest improvements in Metal rendering for immersive apps with Compositor Services. Learn how to add hover effects to highlight your app’s interactive elements, and how to render in higher fidelity with dynamic render quality. Find out about the new progressive immersion style. And explore how you can bring immersive experiences to macOS apps by directly rendering Metal content from Mac to Vision Pro. To get the most out of this session, first watch “Discover Metal for immersive apps” from WWDC23.