How to write unit tests
Asked on 2025-06-16
1 search

To write unit tests in Swift, you can follow these steps, as discussed in the WWDC sessions:
-
Add a Test Target: Start by adding a test bundle target to your project in Xcode. You can do this by choosing "File" > "New" > "Target" and then selecting "Unit Testing Bundle" from the test section. Swift testing is the default choice in Xcode 16.
-
Write a Test Function: Create a function and add the
@testattribute to it. This attribute indicates that the function is a test, and Xcode will recognize it as such, providing a run button alongside it. Test functions can be global functions or methods in a type and can be markedasyncorthrows. -
Use Expectations: Use the
expectmacro to evaluate the result of Swift expressions. This makes it easy to write complex checks and validate that your code behaves as expected. -
Parameterized Testing: You can write parameterized tests by adding parameters to your test functions. This allows you to test multiple inputs with a single test function, improving test coverage and reducing code duplication.
-
Organize Tests: Use tags and test suites to organize your tests. Tags help you associate tests with common characteristics, while suites impose structure on test functions at the source level.
-
Code Coverage: Enable code coverage in Xcode to determine how much of your code is executed when running your tests. This helps you identify gaps in your testing.
For more detailed guidance, you can refer to the sessions Meet Swift Testing and Go further with Swift Testing from WWDC 2024.
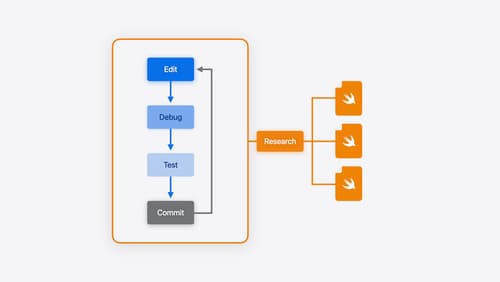
Xcode essentials
Edit, debug, commit, repeat. Explore the suite of tools in Xcode that help you iterate quickly when developing apps. Discover tips and tricks to help optimize and boost your development workflow.
Meet Swift Testing
Introducing Swift Testing: a new package for testing your code using Swift. Explore the building blocks of its powerful new API, discover how it can be applied in common testing workflows, and learn how it relates to XCTest and open source Swift.

Platforms State of the Union
Discover the newest advancements on Apple platforms.