Utiliser l’effet liquide glass ?
Asked on 2025-06-11
1 search
To use the Liquid Glass effect, you can follow these guidelines based on the sessions from WWDC 2025:
-
UIKit: Liquid Glass is designed to be an interactive layer that floats above your content. It is best used for the most important elements of your app, such as custom buttons that float above a map. To implement it, create a
UIVisualEffectViewand set a new UI glass effect in an animation block. You can customize the shape using the new corner properties. For more details, refer to the session Build a UIKit app with the new design. -
SwiftUI: You can add transitions to your glass container using the Glass Effect ID modifier. Declare a local namespace and associate it with each of the glass effect elements. This allows for fluid morphing transitions. For more information, see the session Build a SwiftUI app with the new design.
-
AppKit: Use the
NSGlassEffectViewAPI to place your content on glass. This ensures that AppKit applies all necessary visual treatments to keep your content legible. Customize the appearance using corner radius and tint color properties. For a detailed example, check the session Build an AppKit app with the new design. -
General Guidelines: Liquid Glass should be used to create a unified design language across platforms, providing a fluid and dynamic interaction experience. It is important to avoid stacking Liquid Glass elements on top of each other to prevent a cluttered interface. For a comprehensive understanding, refer to the session Meet Liquid Glass.
These sessions provide a detailed overview of how to effectively use Liquid Glass in your app design.

Build a UIKit app with the new design
Update your UIKit app to take full advantage of the new design system. We’ll dive into key changes to tab views, split views, bars, presentations, search, and controls, and show you how to use Liquid Glass in your custom UI. To get the most out of this video, we recommend first watching “Get to know the new design system” for general design guidance.

Meet Liquid Glass
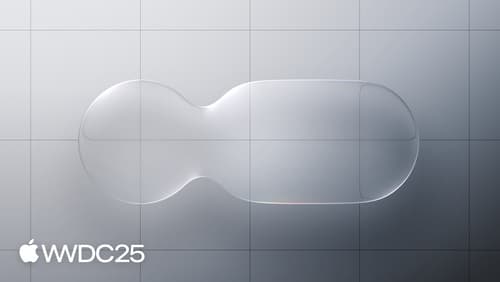
Liquid Glass unifies Apple platform design language while providing a more dynamic and expressive user experience. Get to know the design principles of Liquid Glass, explore its core optical and physical properties, and learn where to use it and why.

Build a SwiftUI app with the new design
Explore the ways Liquid Glass transforms the look and feel of your app. Discover how this stunning new material enhances toolbars, controls, and app structures across platforms, providing delightful interactions and seamlessly integrating your app with the system. Learn how to adopt new APIs that can help you make the most of Liquid Glass.
