What’s the best way to implement a camera in SwiftUI
Asked on 2025-06-12
1 search

To implement a camera in SwiftUI, you can utilize several approaches and APIs discussed in the WWDC sessions:
-
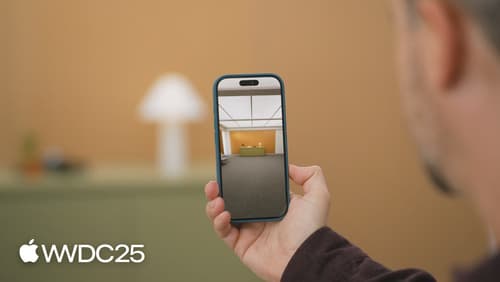
Camera Region in SwiftUI: You can use the VisionKit API to add a camera region to your SwiftUI app. This involves creating a SwiftUI view, such as an
Inspector View, which contains aCamera Region View. This view can be initialized with parameters like contrast and vibrancy enhancement. You can also use a closure to process each camera frame, which allows for more complex applications, such as analyzing camera images or saving them to a file. This approach is demonstrated in the session Explore enhancements to your spatial business app. -
Capture Controls in SwiftUI: The session Enhancing your camera experience with capture controls explains how to build a simple camera app using the
On Camera Capture Event Viewmodifier in SwiftUI. This allows you to capture photos with physical buttons and includes setting up a user interface with a camera view and a capture button. -
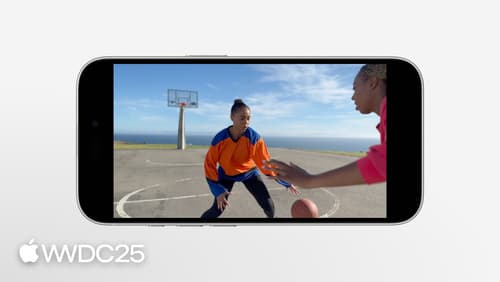
Cinematic Video Capture: For more advanced video capture, you can use the
AVCapturesession to build an interface for video capture using SwiftUI. This involves configuring anAVCapturesession and wrapping the preview layer into a struct that conforms to theUIViewRepresentableprotocol. This approach is detailed in the session Capture cinematic video in your app.
These sessions provide a comprehensive guide to implementing camera functionality in SwiftUI, from basic photo capture to advanced video features.

Explore enhancements to your spatial business app
Discover how the latest enhancements and APIs in visionOS 26 expand access and extend enterprise capabilities announced last year. Learn how these all-new features make it easy to build model training workflows, enhance video feeds, and enable you to align coordinate systems over a local network to develop collaborative experiences in your in-house app.
Enhancing your camera experience with capture controls
Learn how to customize capture controls in your camera experiences. We’ll show you how to take photos with all physical capture controls, including new AirPods support, and how to adjust settings with Camera Control.
Capture cinematic video in your app
Discover how the Cinematic Video API enables your app to effortlessly capture cinema-style videos. We’ll cover how to configure a Cinematic capture session and introduce the fundamentals of building a video capture UI. We’ll also explore advanced Cinematic features such as applying a depth of field effect to achieve both tracking and rack focus.